Showing posts with label fall. Show all posts

Tuesday, October 23, 2012

Fall Tree


This is an easy and fun craft that you can easily customize for your curriculum.


Materials:
• yellow construction paper
• toilet paper roll
• paint: brown, red and orange
• 2 shallow bowls or dishes your child's finger can the bottom
• pencil
• scissors
• paint brush

Directions:
1. Draw the outline of a tree top and cut out

2. Paint the toilet paper roll brown

3. Put some red paint and orange paint in shallow bowls

4. Dip your child's index finger in one of the bowls. Remove your child's finger and have your child place finger prints on the tree top. Repeat with the second bowl of paint

5. When dry, cut 2 small slits in opposite sides of the toilet paper roll

6. Securely place the tree top in the slits made on the toilet paper roll. It should be able to stand upright.

You can easily accessorize the tree by adding animals (such as squirrels or owls or other animals).

You can also teach STEM topics, such as science (e.g., season changes, birds, small mammals), or mathematics (e.g., count the number of leaves, sorting colors, graphing) and much more!

Thursday, September 13, 2012

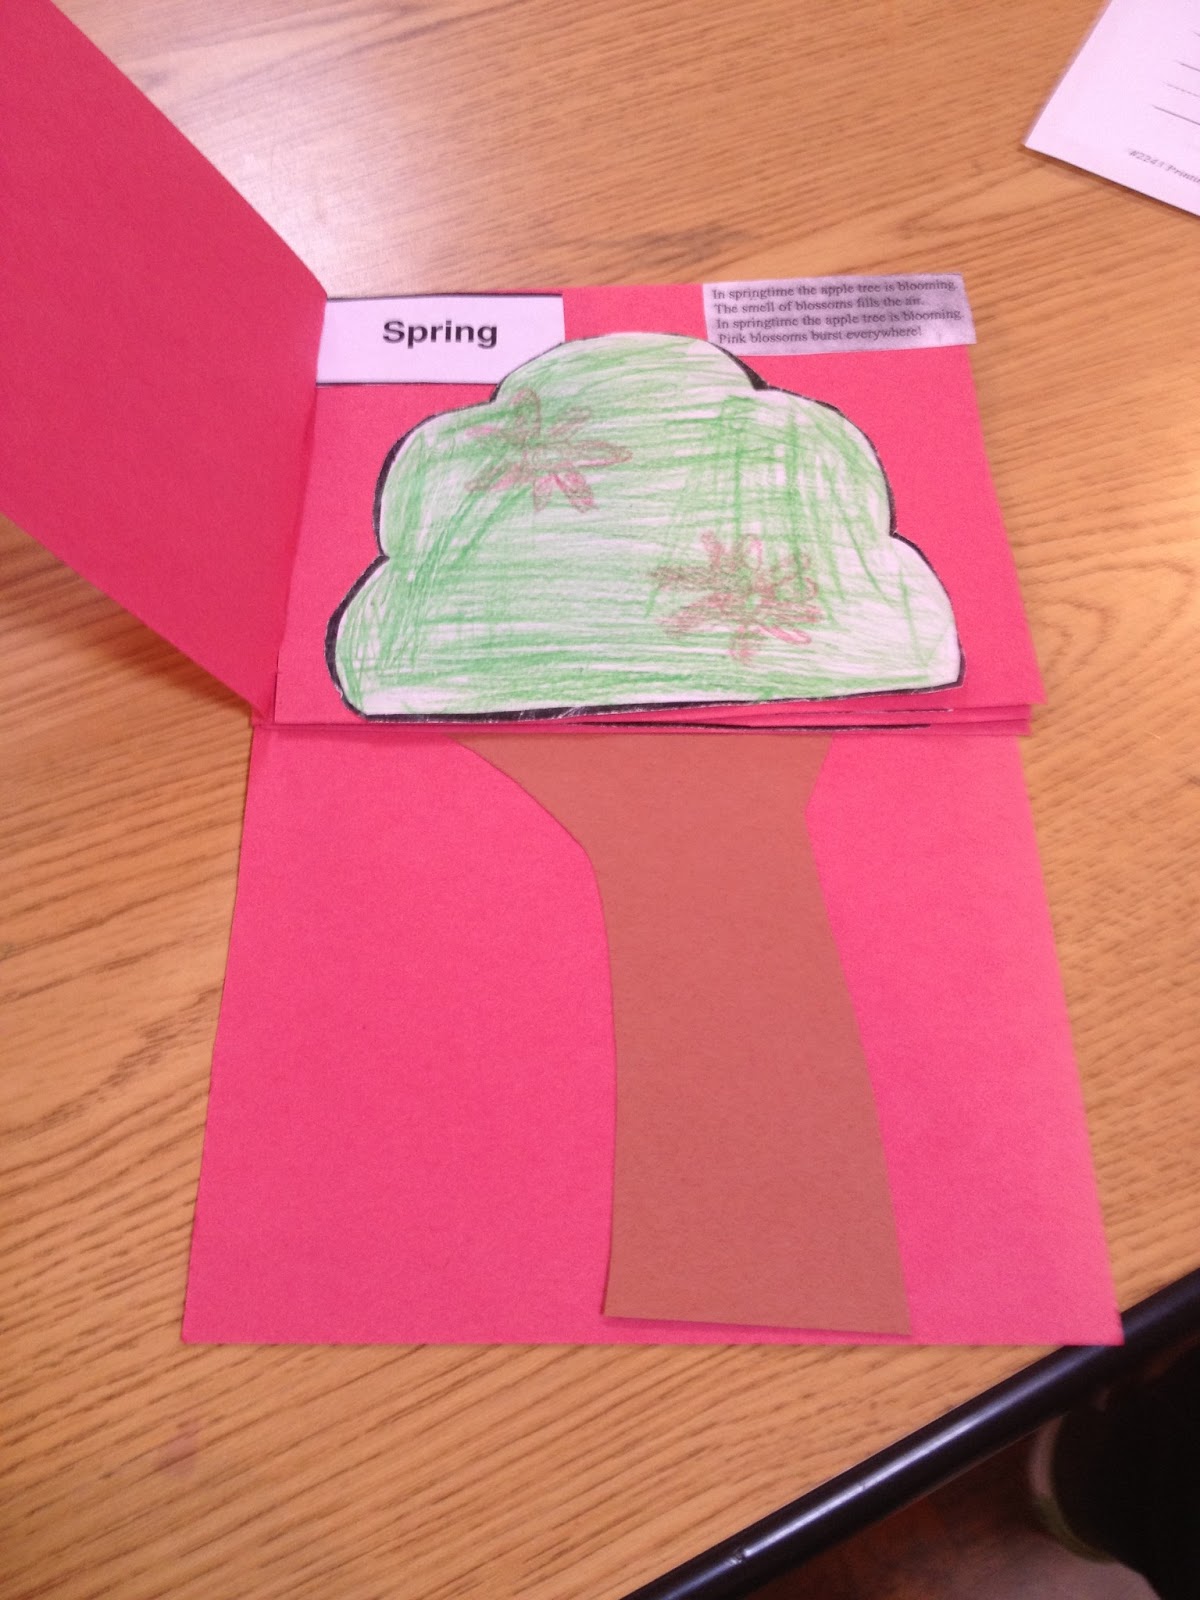
Apple Tree Through the Seasons Book

This book is great for the fall curriculum - it teaches your child about the seasons and also about apples. Furthermore, this book makes it easy for your child to explain the seasons and apples to you.

Materials:

  • Construction paper - brown and your child's favorite color
  • White paper (regular printer paper) 
  • Pencil
  • Glue
  • Scissors 
  • Crayons or color pencils 

Directions 
1. Fold a piece of water printer paper into quarters. In 3 of the folded quarters draw the outline of an apple tree top (outline of leaves of an apple tree)

2. Instruct your child on the seasons and how an apple tree changes through the seasons. Have your child draw and color the apple tree top through the seasons 
-Spring: light green leaves with pink blossoms that will turn into apples 
-Summer: green leaves and apples
-Fall: yellow, orange and red leaves with apples 

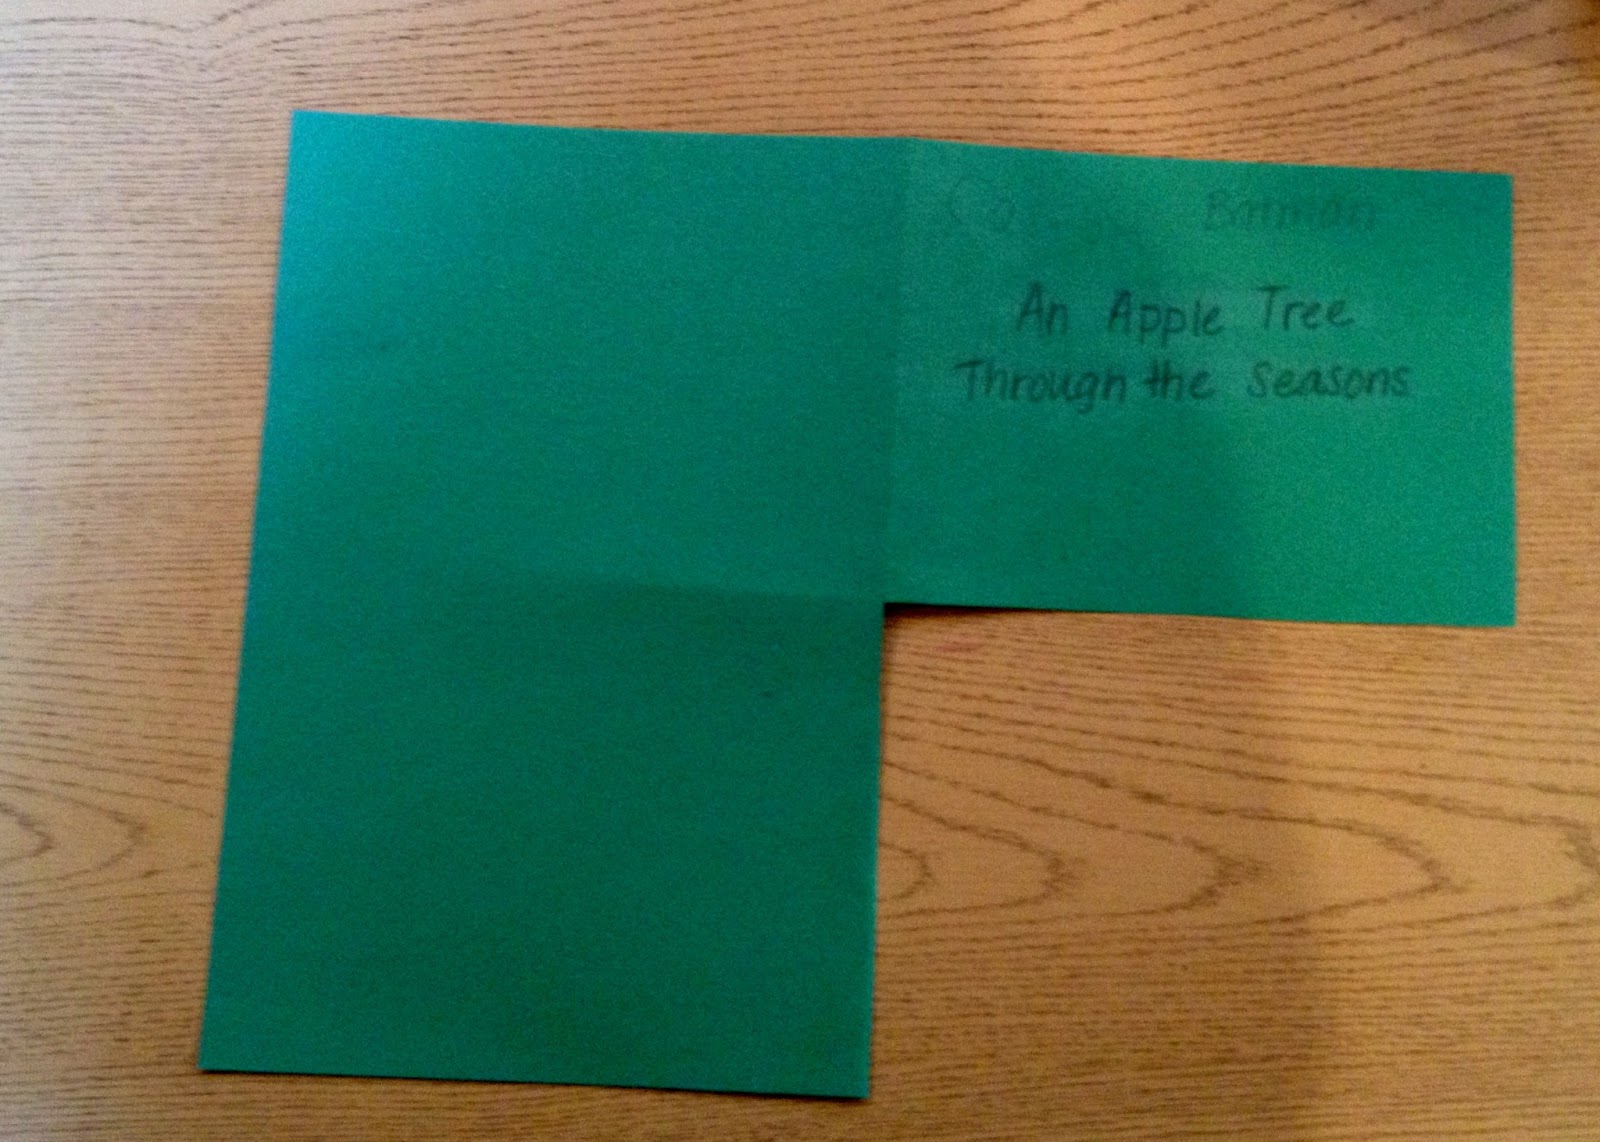
3. Fold the construction paper into quarters. Cut out the bottom left quarter.
4.  In another construction paper (the same color) fold into quarters and cut the out all four quarters. 


5. Staple three of the cut out corners  to the top half of the book. This will be where you will glue the apple tree tops to the book. On the top cover, help your child write the title. We used the title "An Apple Tree Through the Seasons". 


6. 
Trace your child's hand, including part of the arm so that it fills the entire length of the construction paper in portrait orientation. With scissors cut the outline of your child's arm out of the paper.

7. Glue the outline of your child's arm to the back page of the book. This will be the page that is comprised of 2 quarters (from step 3).


8. Have your child glue in the tree tops. After the title page, the seasons should progress as follows: Spring, Summer, Fall and Winter.