Showing posts with label arts and crafts. Show all posts

Tuesday, June 25, 2013

Hanging Flower Decoration


Add a touch of color and summer to your room! This craft is both simple and fun to make. It’s even easier to personalize. Within minutes, you can add a new decoration to your room.

Materials:

·         Construction paper – 3 different colors
·         3 different sized circles to trace
·         Scissors
·         Glue
·         Plastic Straw
·         Scotch Tape
·         Ribbon

Directions:

1. Trace 3 different sizes of circles (small, medium and large)on 3 different pieces of construction paper. Cut out with scissors.
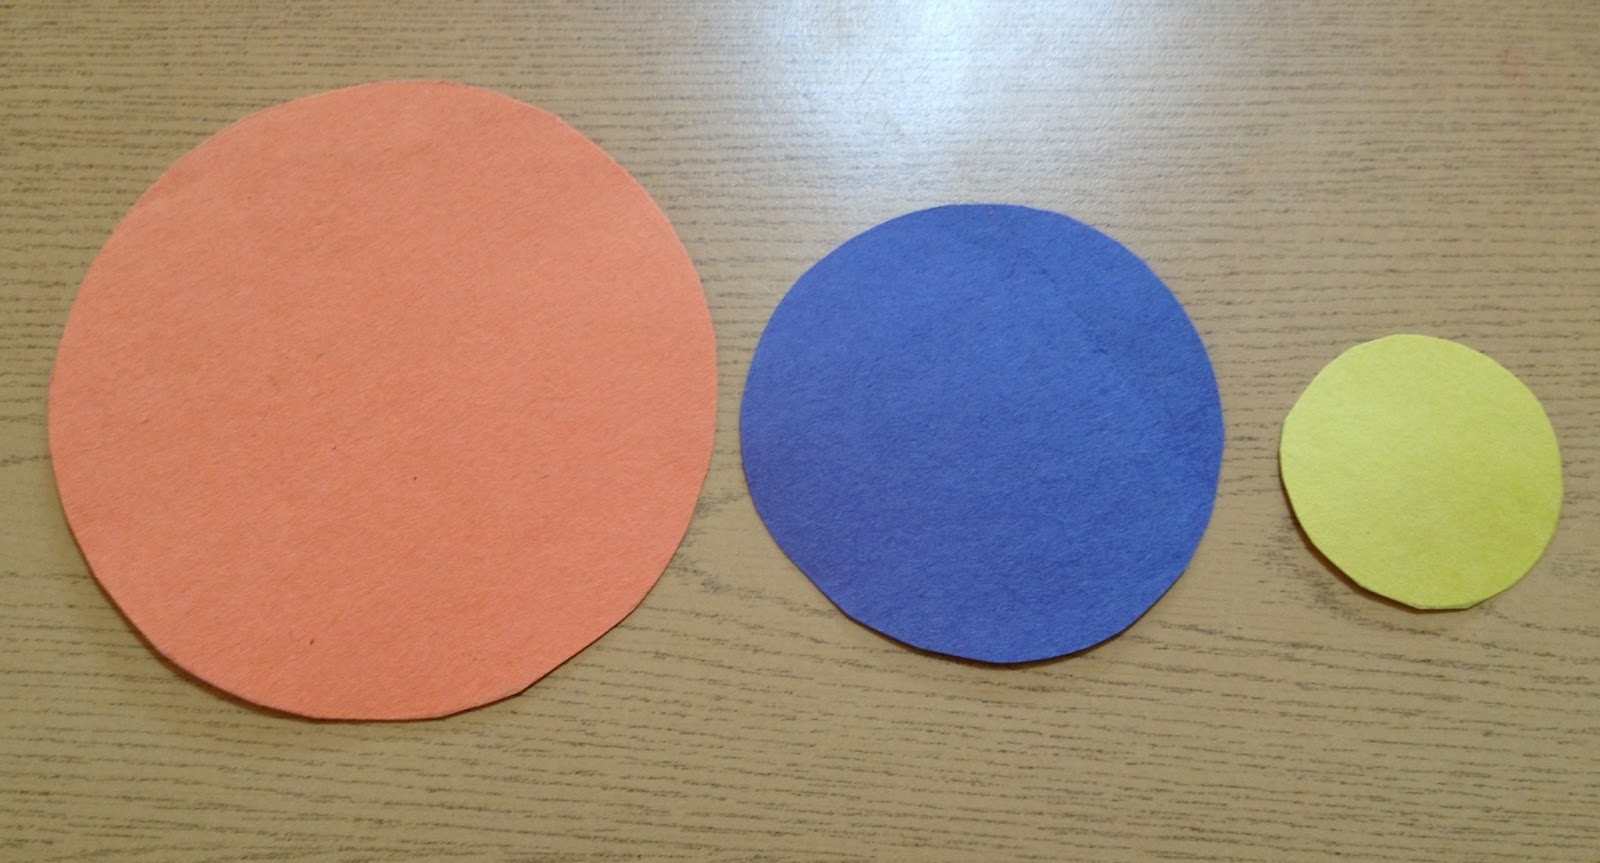

2. Glue all three circles on top of each other, with the smallest circles on top and largest circle on the bottom.


3. Using scissors cut small triangles out of the largest circle.


4. Cut a small piece of a plastic straw.

5. Tape the straw to the back of the flower.


6. Repeat steps 1-5 and string the flowers together with ribbon.


7. Hang up and decorate! 

Friday, June 7, 2013

Cut Paper Flowers


This craft is easy and fun to make and is slightly different from other flower crafts. You can make this flower as a gift: just assemble and place in a jar.

Materials:

·         Construction paper – green and 3 other colors
·         3 different sized circles you can trace
·         Pencil
·         Scissors
·         Glue
·         Green pipe cleaners

Directions:

1. On three different pieces of construction paper that are 3 different colors, trace 3 circles of different sizes (small, medium and large). Cut the circles out with scissors.


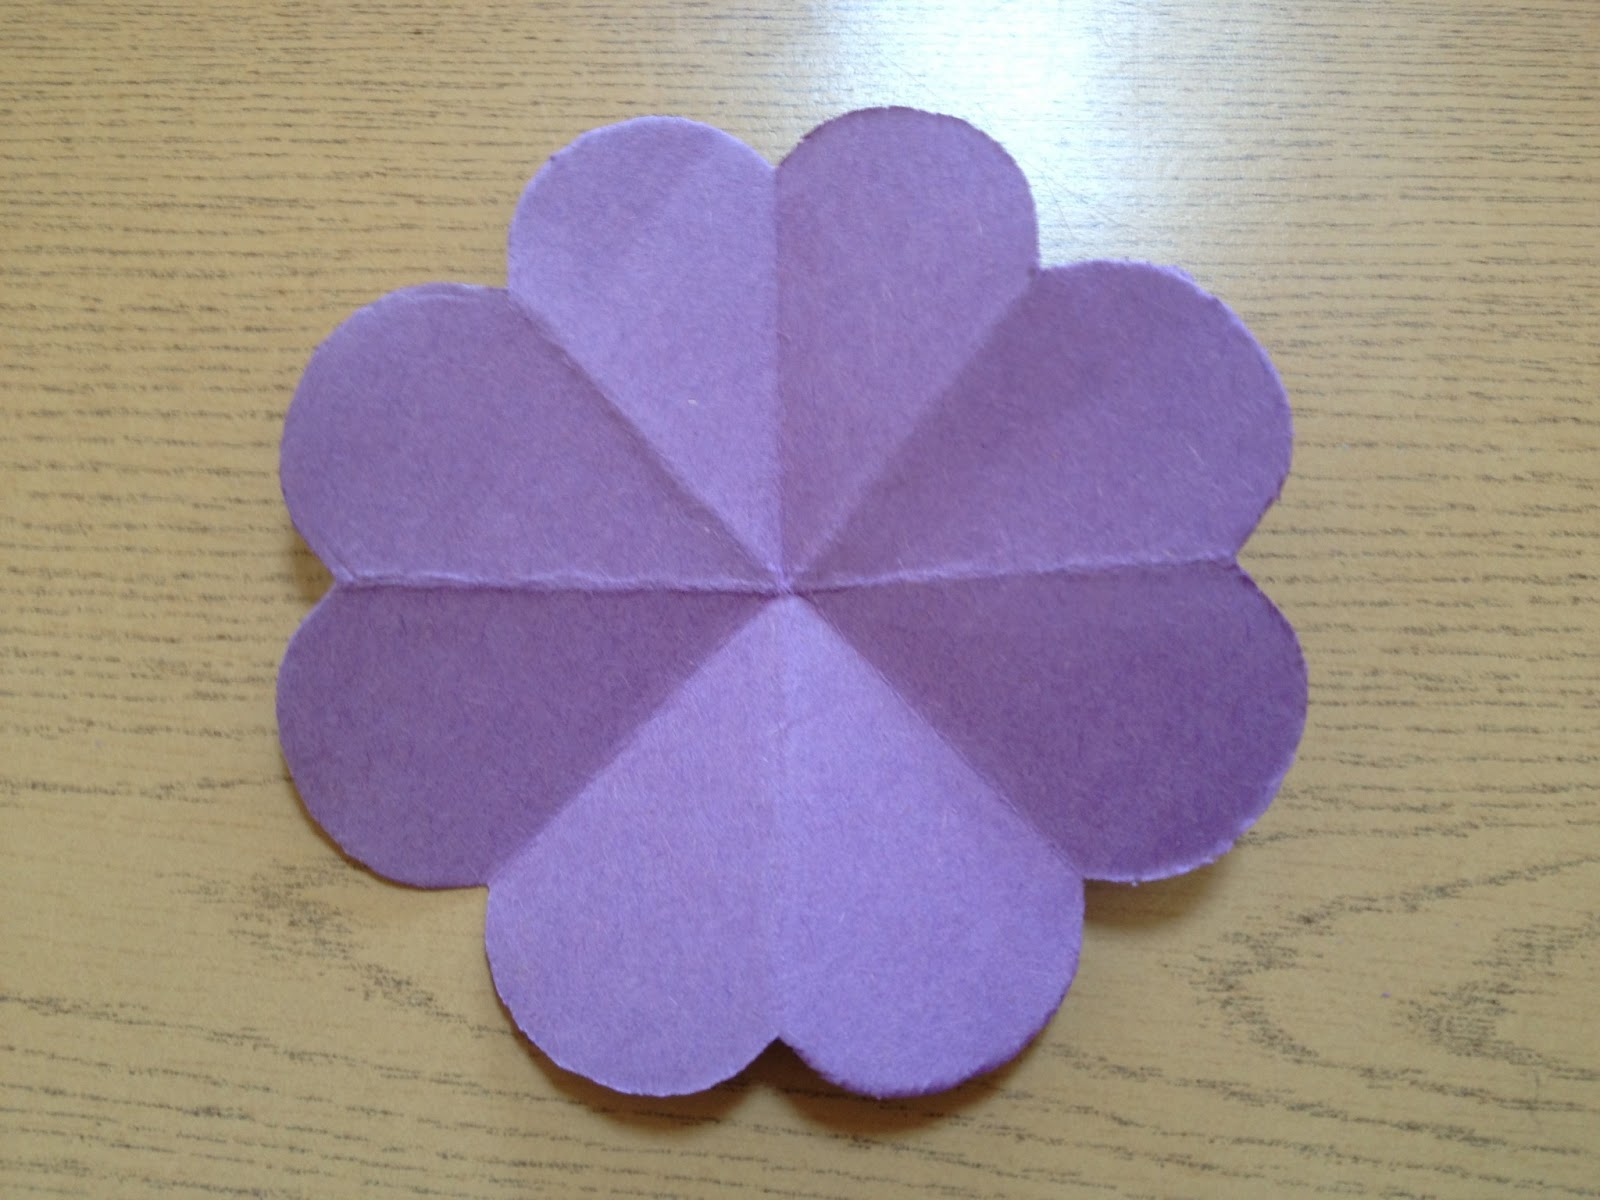
2. Fold the large circle in half, 4 times over.


3. Using a pencil, draw the outline of flower petals. The outline should be only a curve along the outer edge.  Cut along the curved line with scissors.


4. Glue the small circle to the medium circle.


5. With scissors, make small cuts along the edge of the medium circle.


6. Attach a green pipe cleaner to the large circle that has been cut to resemble a flower.


7. Glue the medium circle to the large circle.


8. On a green piece of construction paper, draw flower petals. Cut out the flower petals with scissors.


9. Glue the flower petal to the green pipe cleaner. 


Tuesday, May 28, 2013

Paper Caterpillar


This is a simple craft that only requires a sheet of paper and some glue! It is also great for developing fine motor skills: children use their fingers to fold and assemble the caterpillar.

Materials:

·         Paper
·         Scissors
·         Glue
·         Color pencils, crayons, markers and any material to decorate the caterpillar

Directions:

1. Fold a piece of paper in half, with the long sides together. Fold the paper in half again, 2 more times.


2. Unfold the paper. Cut along the folds. There should be 8 strips of paper.


3. Give your child 2 strips of paper. Have your child decorate 2 of the strips.


4. Dab glue on one end of one of the strips. Press the strip onto the end of the other strip to form a “V”.


5. Fold over the left strip and crease it. Fold it down, so it overlaps the right strip.


6. Fold over the right strip, so it overlaps with the left strip.


7. Continue folding over strip neatly over the other strip.

8. When you get to the end of the two strips, glue the ends together. You can also make a longer caterpillar, by gluing the ends of 2 more strips to the end, and repeating steps 3-7.


9. Decorate the caterpillar by adding feelers, eyes and etc. Remember to have fun!


Tuesday, May 7, 2013

Paper Dolls in a Kimono


Currently, we are learning about the different countries and cultures in Asia. The kimono is a beautiful dress from Japan that children that fascinate the children: the exact symmetric folds, pretty colors and unique designs all attract their attention.

Materials:
  • Cardstock
  • Pencil
  • Scissors
  • Construction paper
  • Stapler
  • Crayons or color pencils or markers


Directions

1. On a piece of cardstock, draw the outline of the paper doll, according to the image shown. Using scissors, cut the doll out of the paper.


2. Using a pencil, draw a face and an outline for the hair on the doll. Color the doll.


3. Cut 2 piece of construction paper in half. The construction paper should be 2 different colors. Choose one piece to go on top and the second piece to go on the bottom. Please note, for some children, it is too difficult to fold the two pieces. It is alright to only fold the top half, using one piece of construction paper.


 4. Line the construction paper that will go on the top with the dolls neck. On one side, fold the top corner down to the opposite side.


5. Fold the corner of overlapping construction paper back.


6. Fold the other top corner towards the opposite side. Fold the corner of the over lapping construction paper back. The top half of the kimono is completed. If you are working with younger children, this may be where to end the craft. If so, have the child decorate the kimono. If the children are able to fold according to directions, move on to the next step.


7. Line up the bottom half of the doll in the middle of the construction paper. Fold one side over. Fold the part of the kimono that overlaps back.


8. Fold the other side of the kimono over. Fold the overlapping side back.


9. Decorate the kimono. 

Wednesday, May 1, 2013

Rocket Ship - Paper Towel Roll


This rocket ship is simple to make and your children can have a lot of fun playing with it, or using it as a science experiment.

Materials:

  • Paper towel roll
  • Cardboard
  • Masking Tape
  • Scissors 
  • Paint 
  • Stickers or other materials to decorate the rocket
Directions
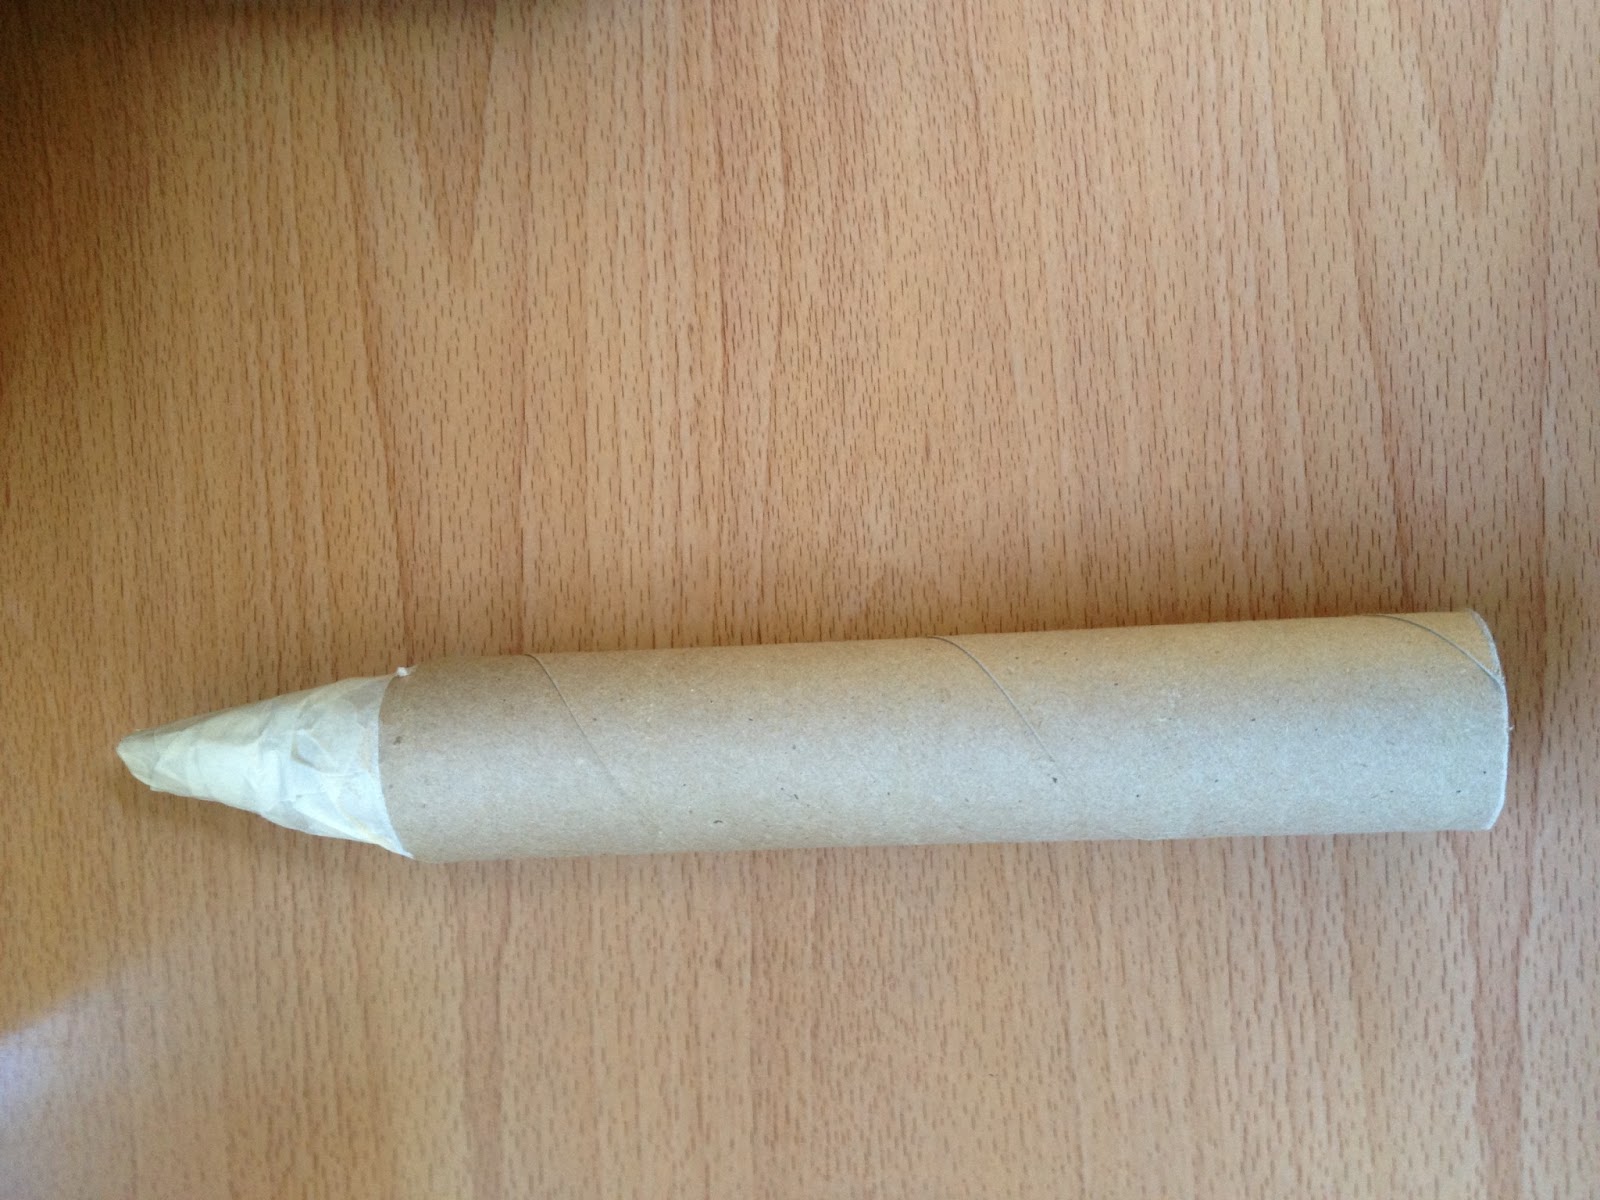
1. Cut four slits in the top of a paper towel roll, with scissors. The slits should all be the same length and should be able to overlap to form a cone. 


2. Form the cone and use masking tape to secure it. 


3. Make 2 rocket ship wings on a piece of cardboard. Cut out the wings with scissors. 


4. Fold up approximately 1cm the base of the wings. 


5. Secure the wings to the rocket using masking tape. 


6. Paint the rocket ship and decorate.