
Materials:
- Construction paper - brown and your child's favorite color
- White paper (regular printer paper)
- Pencil
- Glue
- Scissors
- Crayons or color pencils
Directions
1. Fold a piece of water printer paper into quarters. In 3 of the folded quarters draw the outline of an apple tree top (outline of leaves of an apple tree)
2. Instruct your child on the seasons and how an apple tree changes through the seasons. Have your child draw and color the apple tree top through the seasons
-Spring: light green leaves with pink blossoms that will turn into apples
-Summer: green leaves and apples
-Fall: yellow, orange and red leaves with apples
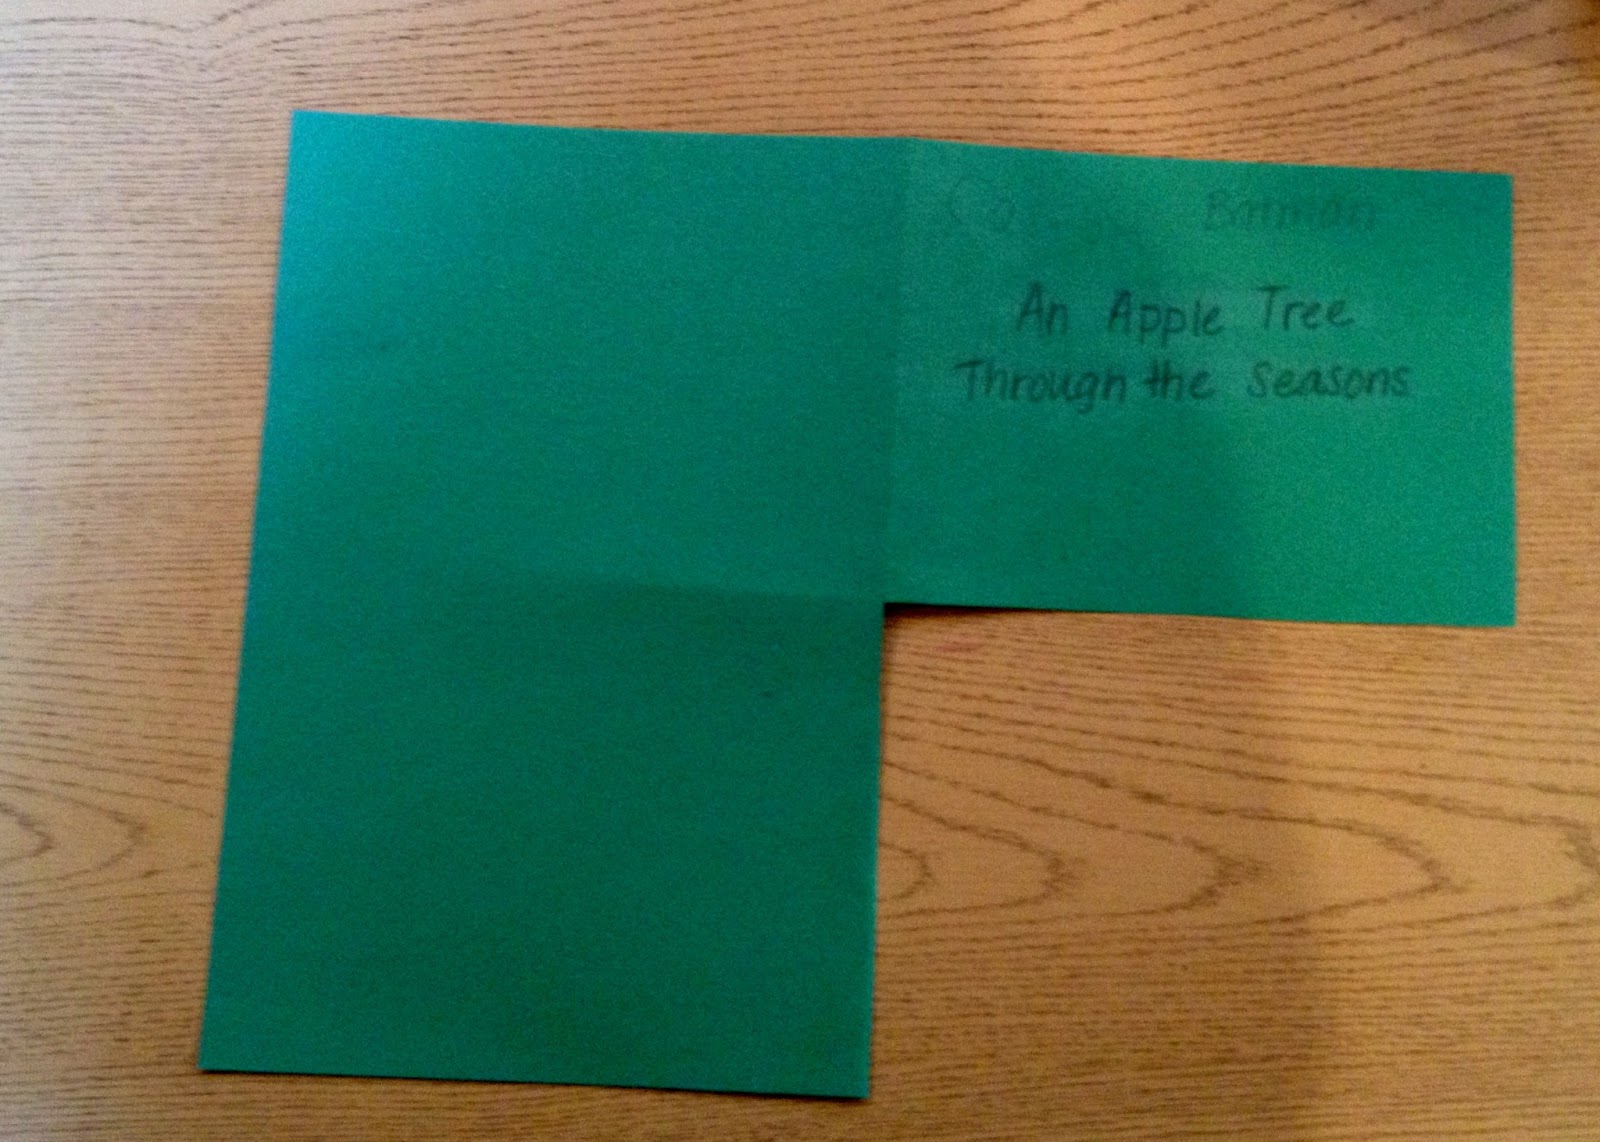 |
| 3. Fold the construction paper into quarters. Cut out the bottom left quarter. |
 |
| 4. In another construction paper (the same color) fold into quarters and cut the out all four quarters. |
5. Staple three of the cut out corners to the top half of the book. This will be where you will glue the apple tree tops to the book. On the top cover, help your child write the title. We used the title "An Apple Tree Through the Seasons".
 |
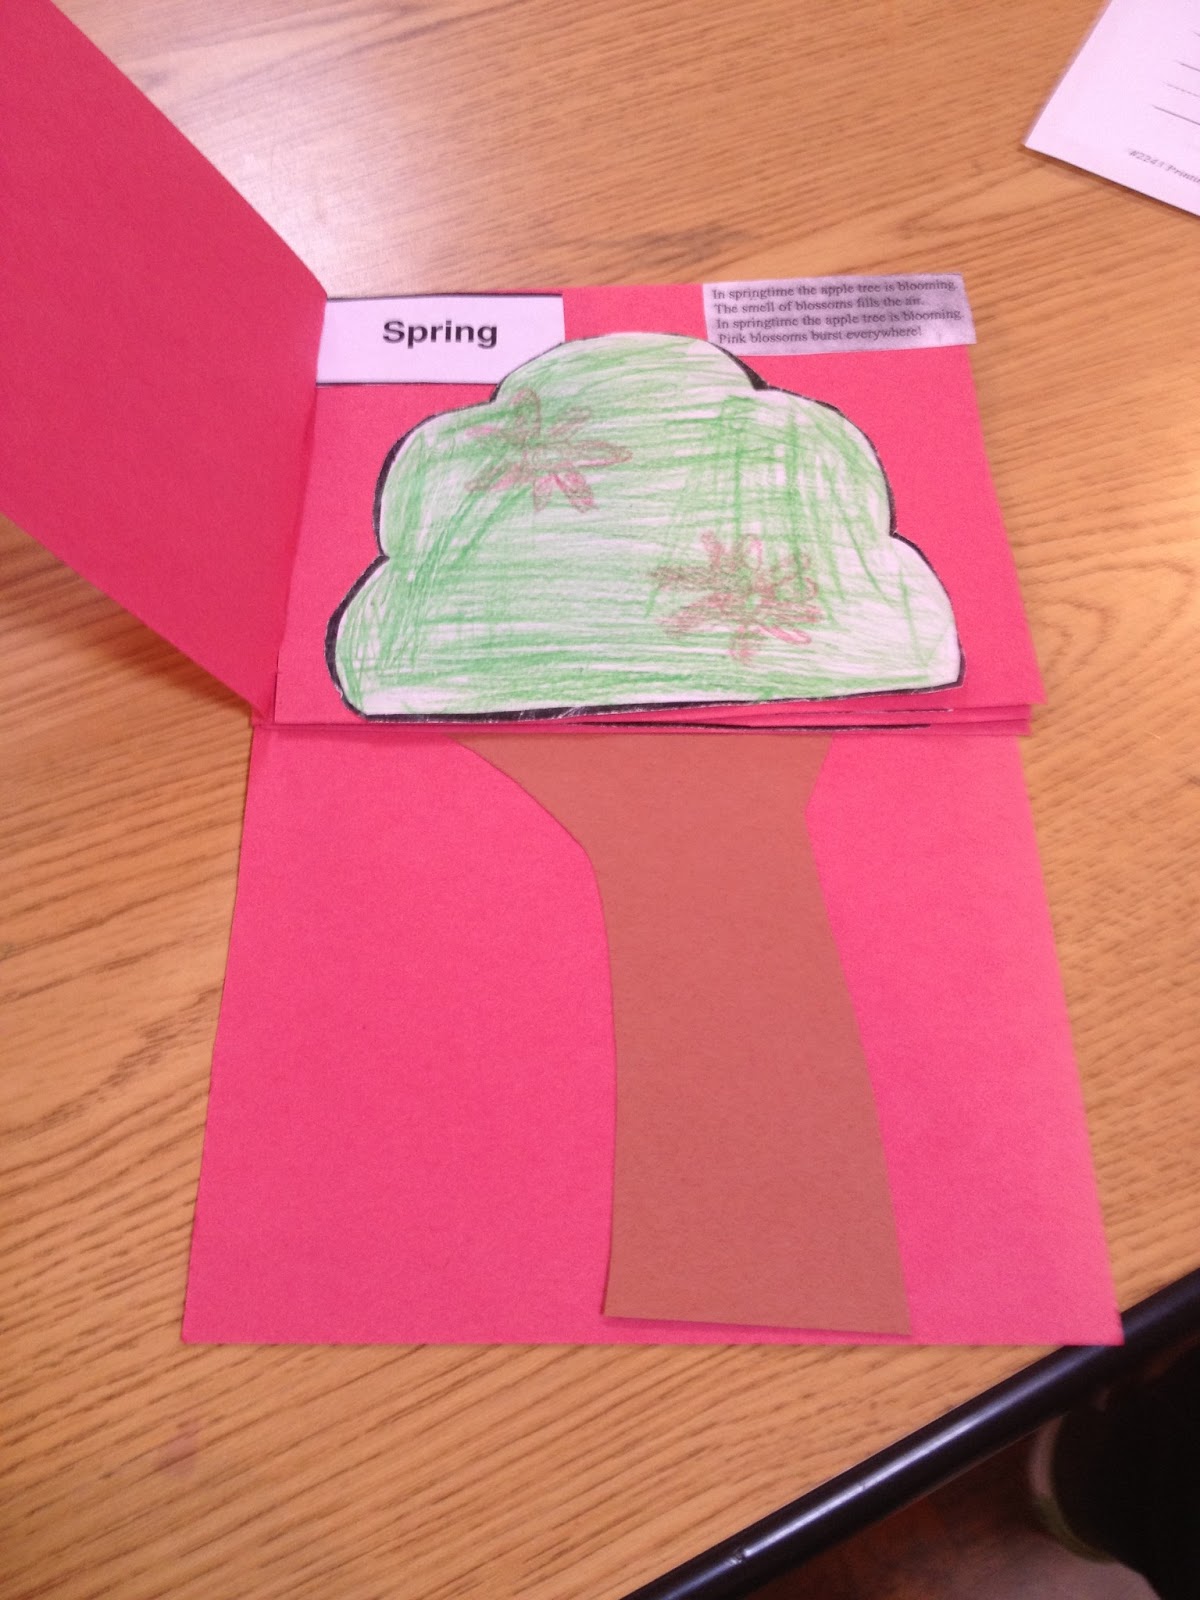
6. Trace your child's hand, including part of the arm so that it fills the entire length of the construction paper in portrait orientation. With scissors cut the outline of your child's arm out of the paper. |
 |
7. Glue the outline of your child's arm to the back page of the book. This will be the page that is comprised of 2 quarters (from step 3).

8. Have your child glue in the tree tops. After the title page, the seasons should progress as follows: Spring, Summer, Fall and Winter.
No comments:
Post a Comment