Tuesday, October 23, 2012
Fall Tree
This is an easy and fun craft that you can easily customize for your curriculum.
Materials:
• yellow construction paper
• toilet paper roll
• paint: brown, red and orange
• 2 shallow bowls or dishes your child's finger can the bottom
• pencil
• scissors
• paint brush
Directions:
1. Draw the outline of a tree top and cut out
2. Paint the toilet paper roll brown
3. Put some red paint and orange paint in shallow bowls
4. Dip your child's index finger in one of the bowls. Remove your child's finger and have your child place finger prints on the tree top. Repeat with the second bowl of paint
5. When dry, cut 2 small slits in opposite sides of the toilet paper roll
6. Securely place the tree top in the slits made on the toilet paper roll. It should be able to stand upright.
You can easily accessorize the tree by adding animals (such as squirrels or owls or other animals).
You can also teach STEM topics, such as science (e.g., season changes, birds, small mammals), or mathematics (e.g., count the number of leaves, sorting colors, graphing) and much more!
Wednesday, October 17, 2012
Pretty Peacock Craft
Materials:
- Construction paper
- Scissors
- Glue
- Markers
- Glitter
Directions:
1. On a piece of construction paper (we used teal) draw the the head (with feathers on top), the body and the wings of the peacock. Use a marker to draw in the feathers on the wings.
2. On another piece of construction paper (yellow), draw the beak, eyes and feet. Fill in the eyes with a marker.
3. On another piece of construction paper (we used purple), draw six ovals. This will be the tail feathers. Use another construction paper (we used green) and cut out small ovals to glue to the feathers.
4. Glue the eyes and beak to the peacock's face. Glue the feet to the bottom of the body. Arrange the tail feathers around the body and glue.
5. Add glitter to the tail feathers and around the neck.
Labels:
art,
arts and crafts,
easy crafts,
ornament,
peacock,
simple craft
Wednesday, October 3, 2012
Paper Stained Glass Window
A craft that adds color to the room! This craft can be difficult for young children; gauge your child's strengths before starting.
Materials:
• black construction paper
• crepe paper
• scissors
• pencil
• glue
• stencils (optional)
• duct tape
Directions:
Before you begin, plan what you want to put in the windows. When making your plan, it is important that you leave at least 1/2 inch between images. When working with young children, it is recommended to leave 1 inch between images to help the child with cutting and gluing.
1. In a piece of construction paper, draw or trace the images you want in your stained glass window. Leave at least 1/2 inch margin around all images and the border of the paper
2. Cut out the images. This can be difficult for young children. We found that after making the initial cut and cutting out the center of the image. Preschoolers can cut the rest of the images out
3. Cut out crepe paper to fit in each cut out image. There are several important things to remember. This will be hanging on your window, so try to keep the back side as clean as possible. For pastel or light crepe papers, you may need to glue 3-5 layers of crepe paper for the color to show
4. Once dry, hang on a window with masking tape.
Materials:
• black construction paper
• crepe paper
• scissors
• pencil
• glue
• stencils (optional)
• duct tape
Directions:
Before you begin, plan what you want to put in the windows. When making your plan, it is important that you leave at least 1/2 inch between images. When working with young children, it is recommended to leave 1 inch between images to help the child with cutting and gluing.
1. In a piece of construction paper, draw or trace the images you want in your stained glass window. Leave at least 1/2 inch margin around all images and the border of the paper
2. Cut out the images. This can be difficult for young children. We found that after making the initial cut and cutting out the center of the image. Preschoolers can cut the rest of the images out
3. Cut out crepe paper to fit in each cut out image. There are several important things to remember. This will be hanging on your window, so try to keep the back side as clean as possible. For pastel or light crepe papers, you may need to glue 3-5 layers of crepe paper for the color to show
4. Once dry, hang on a window with masking tape.
Tuesday, September 25, 2012
Mancala Simplified for Preschoolers
Mancala is a term used to describe a type of counting game. Kalah (which is simply referred to as Manacala in the United States) is one type of Mancala game. In most Mancala games, players move counters (or seeds) between pits and stores. The winner of the game accumulates the most counters in his or her store.
Some Mancala games have complex rules, while others are more simple. In the version played most often in the United States, there are 48 counters, 12 pits and one house at each end of the board. For a preschooler, this can become confusing. We wanted our students to benefit from the counting and critical thinking components of the game, but did not want to confuse them with developmentally advanced concepts. We modified the game to be more developmentally appropriate for our students.
Materials:
- egg carton
- scissors
- glue
- paint
- "counters"
Directions:
1. Cut the egg carton in half. The bottom portion of the egg carton (where the eggs are kept) will be the Mancala board.
2. Cut from the cover of the egg carton, a piece of cardboard to form a border with the edge of the Mancala board (the edge of the board that was cut in half). Glue this piece to the egg carton and allow to dry.
3. Paint the egg carton. Allow to dry.
4. Instruct the students to collect "counters". We instructed our students to collect 'beautiful small rocks'.
5. Place 1 counter in each pit on the Mancala board. For more advanced students, you can use more than one rock. Additionally, we did not include the house because we found it to be confusing. You can add the house by attaching a small container (such as a paper cup) to each end of the Mancala board.
How to play:
1. Place one counter in each pit.
2. Have the student choose a pit to start with. The student will move in a clockwise direction the number of counters in the selected pit.
3. Have the student choose another pit, and move the counter in a clockwise direction the number of counters in the selected pit.
4. Continue selecting pits and moving counters. The object of the game is to move all the counters into one pit.
Labels:
arts and crafts,
counting,
easy crafts,
game,
mancala,
math,
STEM
Thursday, September 20, 2012
Gallon Bottle Bird Feeder
This simple craft is great for the spring when birds are returning and trees are beginning to bloom. We put our bird feeder up in April and watched birds use them throughout Spring, Summer, Fall and Winter.
Materials:
- one empty gallon jug - preferably water
- one pencil
- one scissor
- crayons
- ribbon or string
- bird food
Directions:
1. Hold the empty jug by the handle. Draw openings for birds to fly in and out of on the 2 sides opposite to the handle.
2. Using scissors, cut the two openings out.
3. Using crayons, have your child draw on the bottle.
4. Make two holes on the top of the jug on opposite sides of the cap.
5. Securely tie ribbon or string.
6. Hang the bird feeder outside and fill the bottom with bird food.
Labels:
arts and crafts,
bird feeder,
gallon jug,
seasons,
simple craft,
STEM
Thursday, September 13, 2012
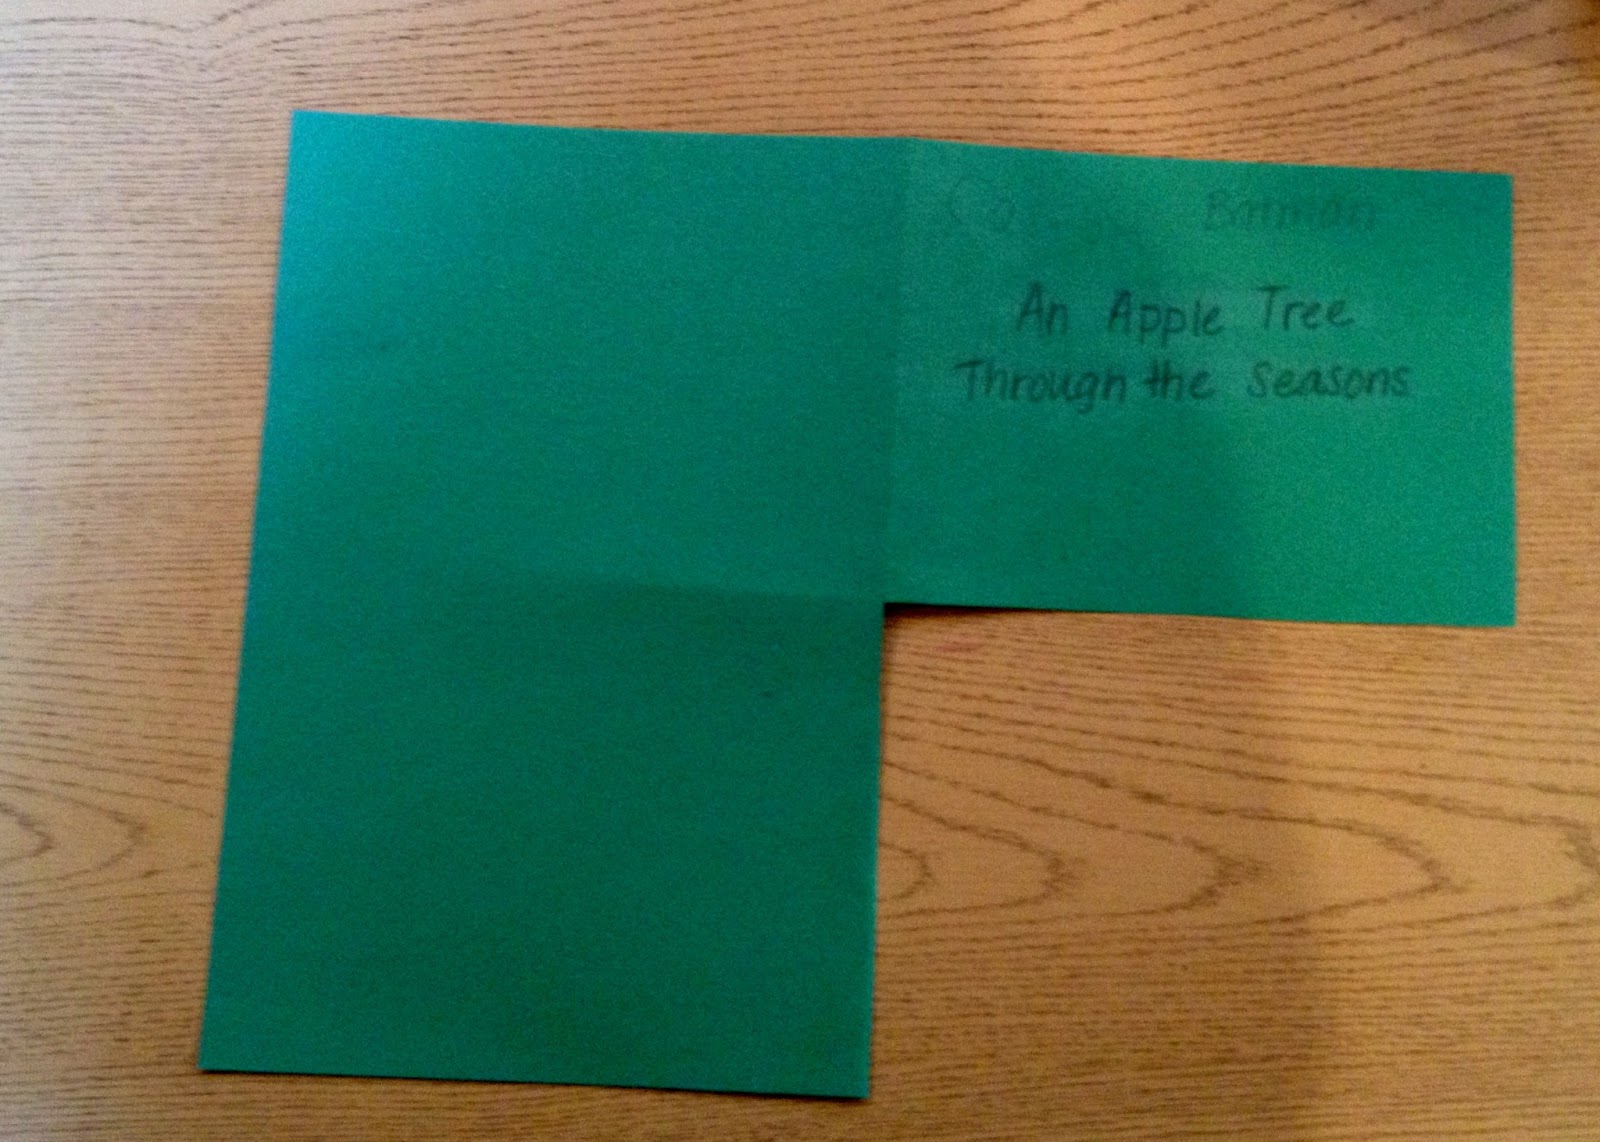
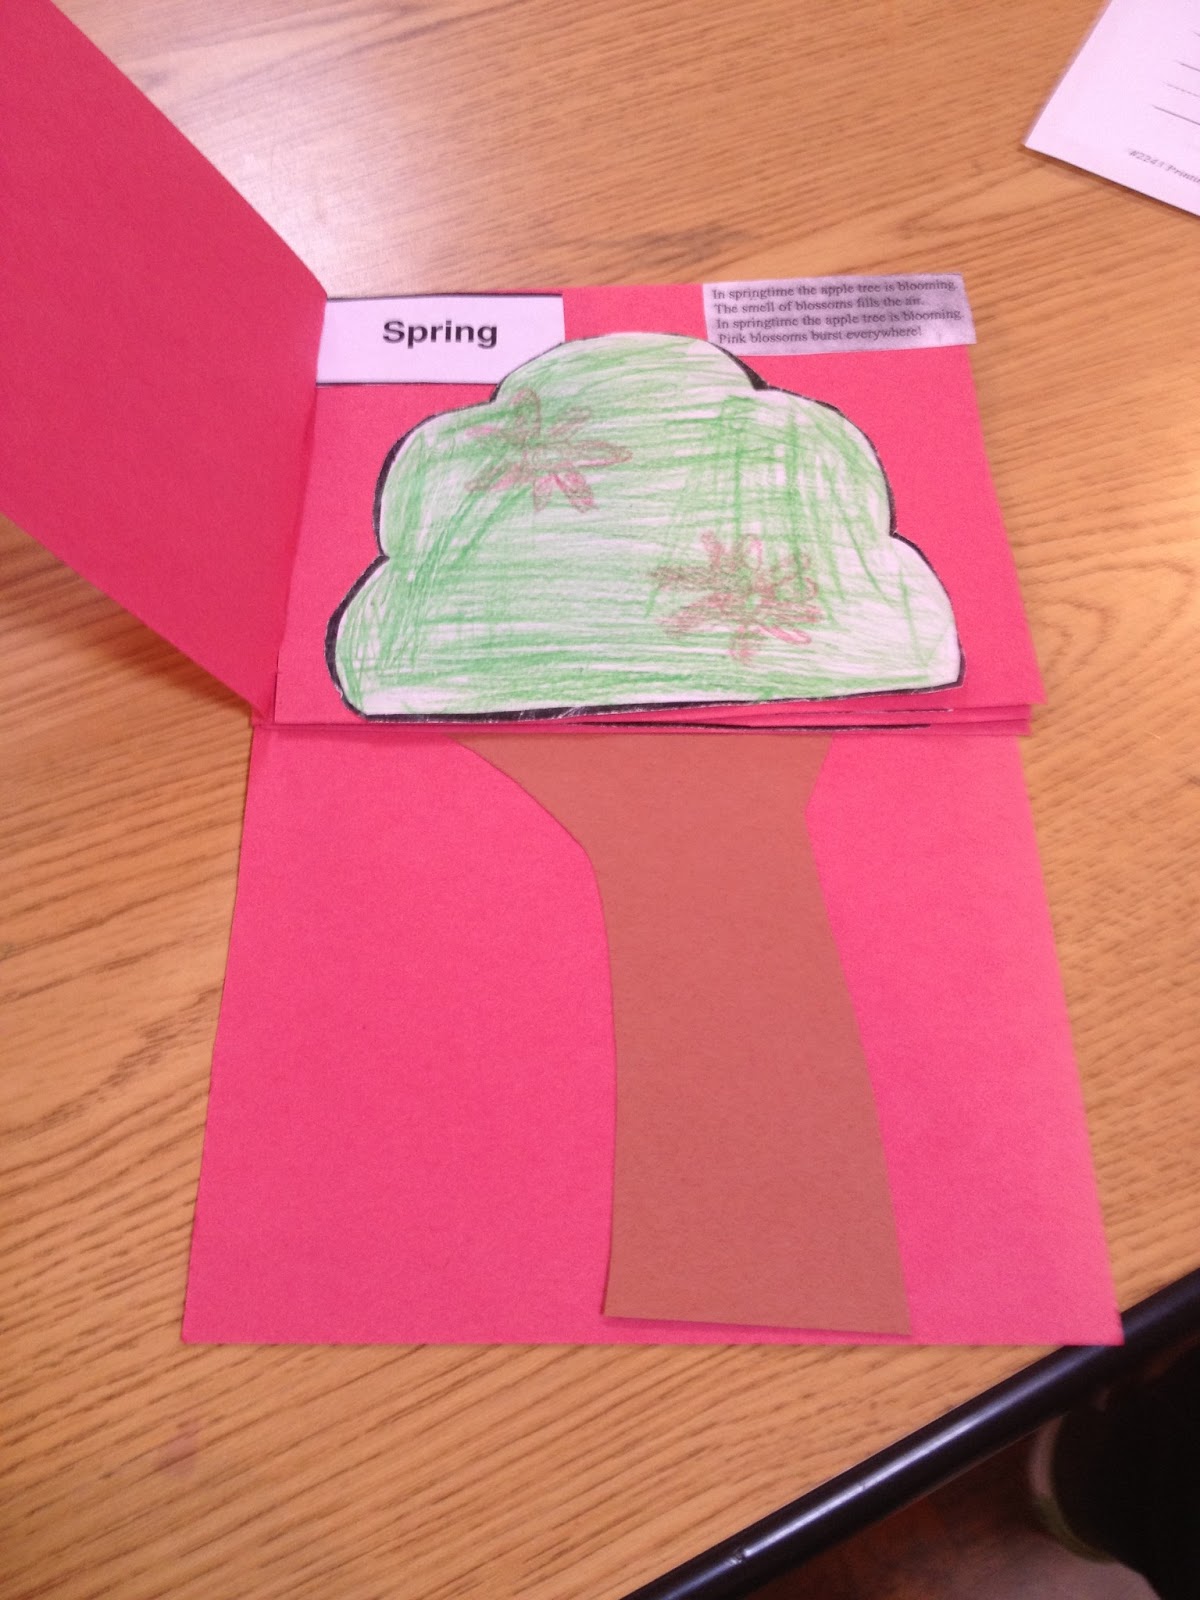
Apple Tree Through the Seasons Book
This book is great for the fall curriculum - it teaches your child about the seasons and also about apples. Furthermore, this book makes it easy for your child to explain the seasons and apples to you.
Materials:
Materials:
- Construction paper - brown and your child's favorite color
- White paper (regular printer paper)
- Pencil
- Glue
- Scissors
- Crayons or color pencils
Directions
1. Fold a piece of water printer paper into quarters. In 3 of the folded quarters draw the outline of an apple tree top (outline of leaves of an apple tree)
2. Instruct your child on the seasons and how an apple tree changes through the seasons. Have your child draw and color the apple tree top through the seasons
-Spring: light green leaves with pink blossoms that will turn into apples
-Summer: green leaves and apples
-Fall: yellow, orange and red leaves with apples
| 3. Fold the construction paper into quarters. Cut out the bottom left quarter. |
| 4. In another construction paper (the same color) fold into quarters and cut the out all four quarters. |
5. Staple three of the cut out corners to the top half of the book. This will be where you will glue the apple tree tops to the book. On the top cover, help your child write the title. We used the title "An Apple Tree Through the Seasons".
7. Glue the outline of your child's arm to the back page of the book. This will be the page that is comprised of 2 quarters (from step 3).
8. Have your child glue in the tree tops. After the title page, the seasons should progress as follows: Spring, Summer, Fall and Winter.
Subscribe to:
Posts (Atom)