Showing posts with label decoration. Show all posts

Tuesday, June 25, 2013

Hanging Flower Decoration


Add a touch of color and summer to your room! This craft is both simple and fun to make. It’s even easier to personalize. Within minutes, you can add a new decoration to your room.

Materials:

·         Construction paper – 3 different colors
·         3 different sized circles to trace
·         Scissors
·         Glue
·         Plastic Straw
·         Scotch Tape
·         Ribbon

Directions:

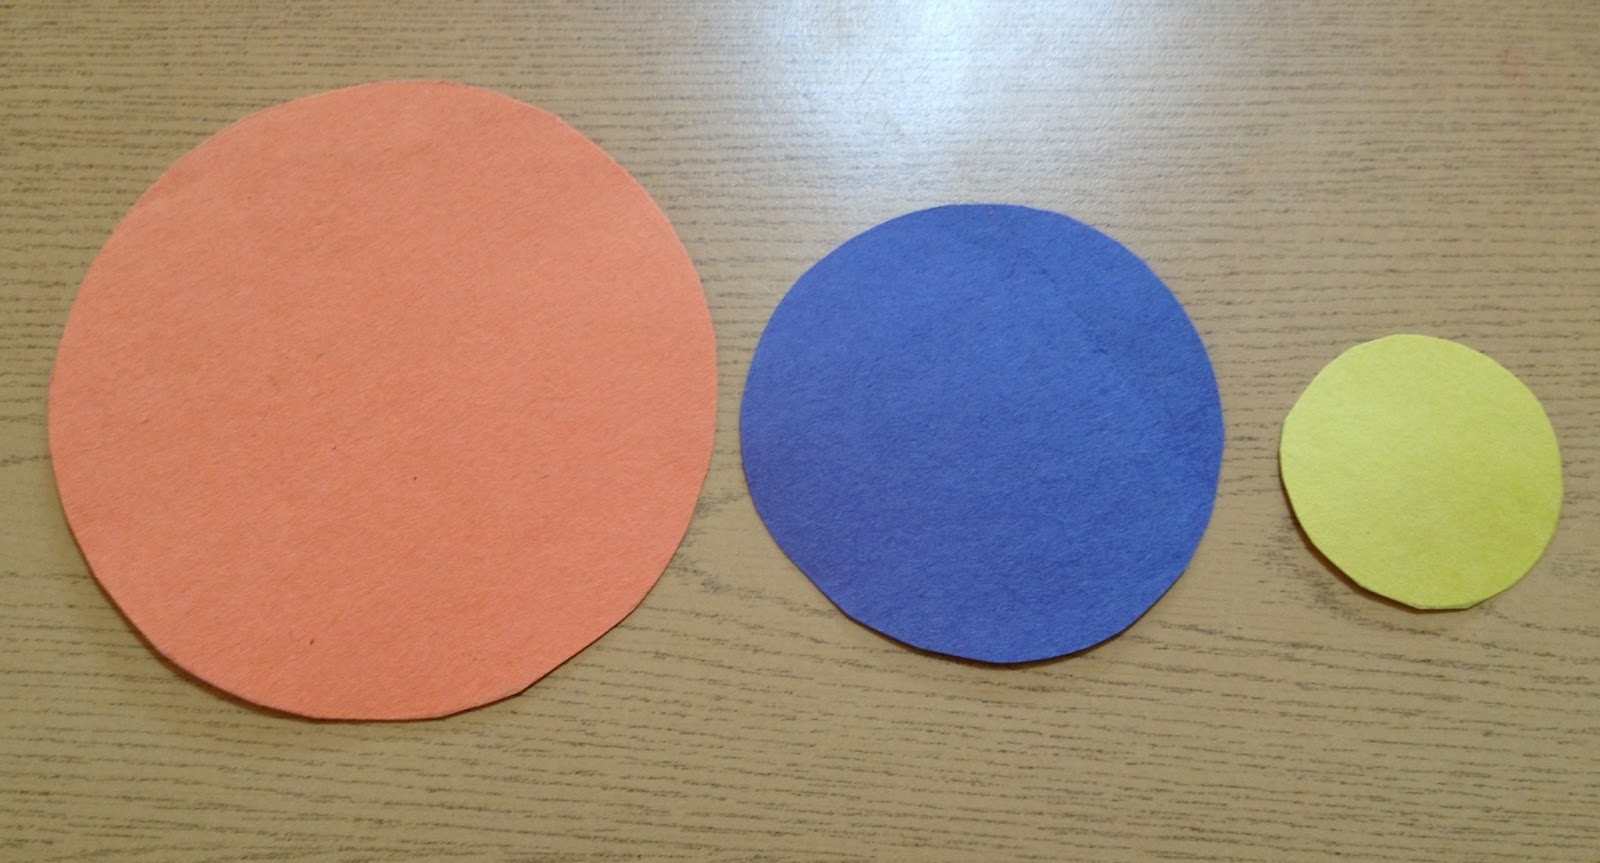
1. Trace 3 different sizes of circles (small, medium and large)on 3 different pieces of construction paper. Cut out with scissors.

2. Glue all three circles on top of each other, with the smallest circles on top and largest circle on the bottom.


3. Using scissors cut small triangles out of the largest circle.


4. Cut a small piece of a plastic straw.

5. Tape the straw to the back of the flower.


6. Repeat steps 1-5 and string the flowers together with ribbon.


7. Hang up and decorate! 

Friday, June 7, 2013

Cut Paper Flowers


This craft is easy and fun to make and is slightly different from other flower crafts. You can make this flower as a gift: just assemble and place in a jar.

Materials:

·         Construction paper – green and 3 other colors
·         3 different sized circles you can trace
·         Pencil
·         Scissors
·         Glue
·         Green pipe cleaners

Directions:

1. On three different pieces of construction paper that are 3 different colors, trace 3 circles of different sizes (small, medium and large). Cut the circles out with scissors.


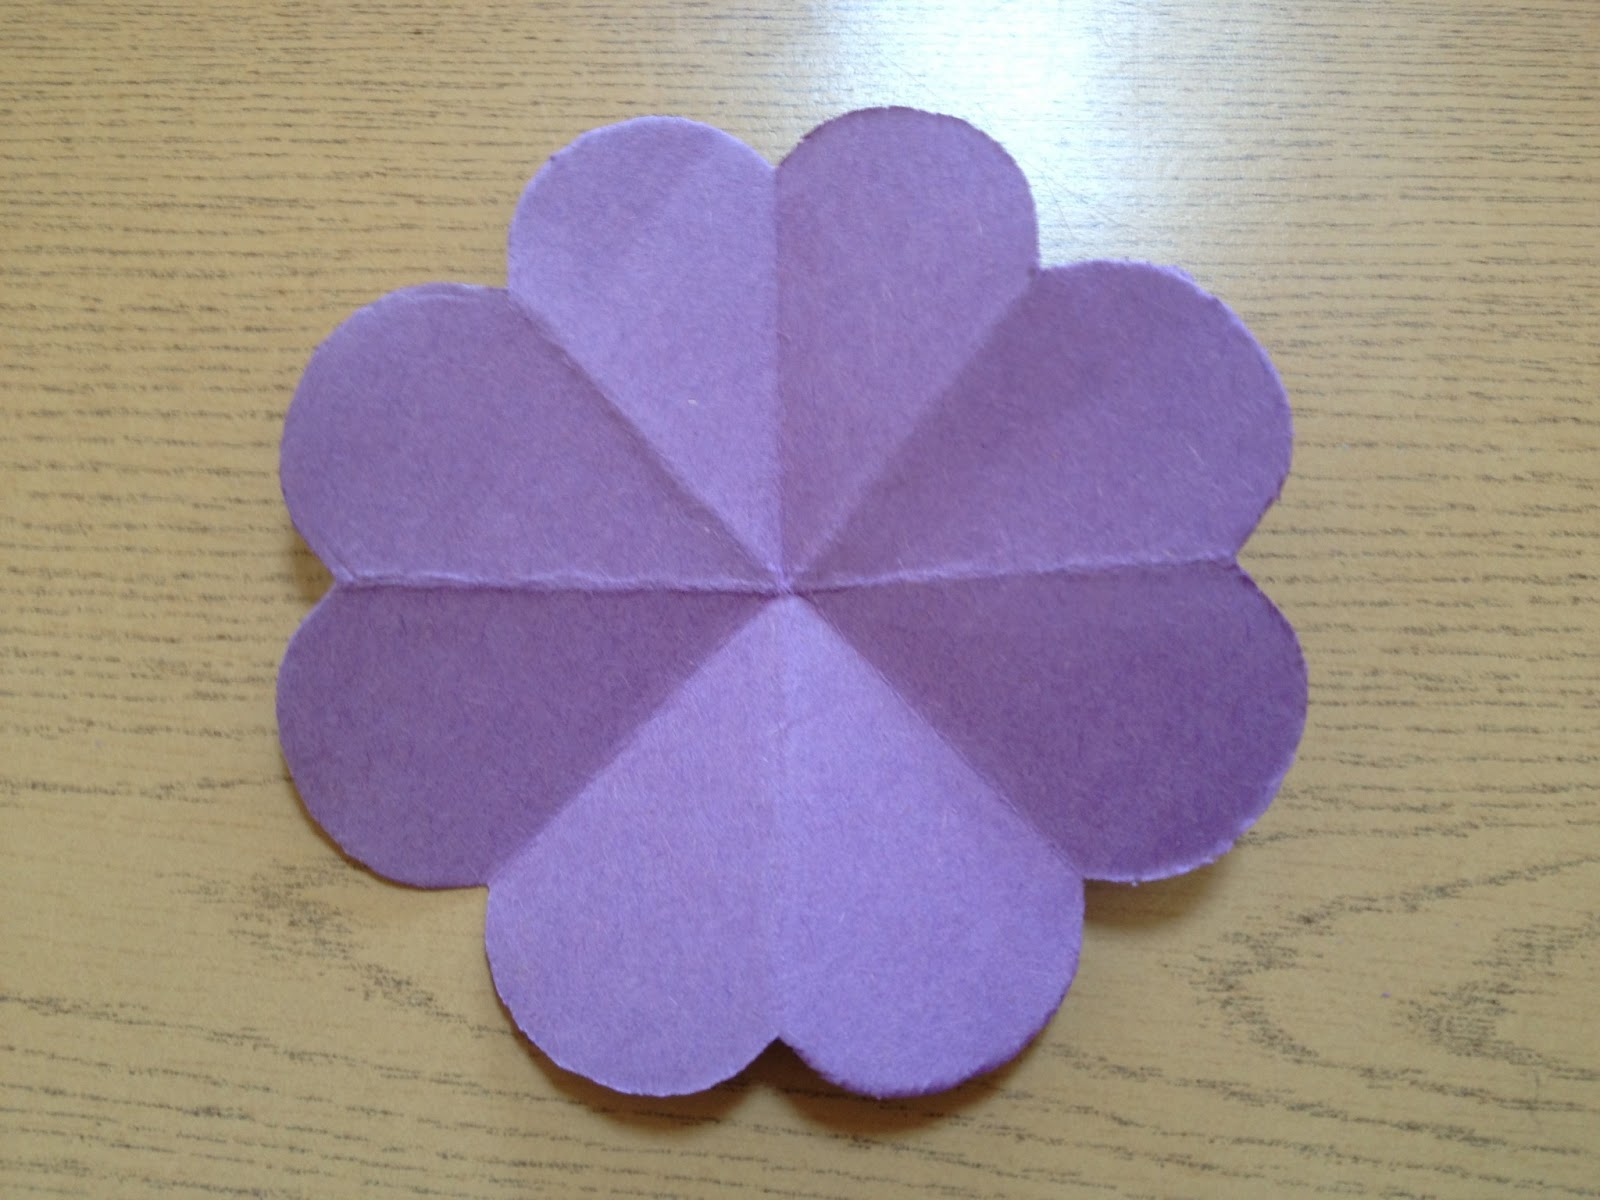
2. Fold the large circle in half, 4 times over.


3. Using a pencil, draw the outline of flower petals. The outline should be only a curve along the outer edge.  Cut along the curved line with scissors.


4. Glue the small circle to the medium circle.


5. With scissors, make small cuts along the edge of the medium circle.


6. Attach a green pipe cleaner to the large circle that has been cut to resemble a flower.


7. Glue the medium circle to the large circle.


8. On a green piece of construction paper, draw flower petals. Cut out the flower petals with scissors.


9. Glue the flower petal to the green pipe cleaner. 


Monday, April 1, 2013

Wildflower Craft


This year, make flowers for Mother’s Day! This craft is great for many age groups and can be as simple or as complex as you would like it to be.

Materials:
·         White paper
·         Pencil
·         Crayons, color pencils or markers
·         Scissors
·         Green pipe cleaner
·         Glue stick

Directions:

1. On a sheet of white paper, draw flowers. For this particular craft, it is recommended to draw an equal number of large and small flowers. On each paper, we drew 6 large flowers and 6 small flowers.


2. Have the children color the flowers.


3. Cut the flowers out with scissors.


4. With scissors, cut one green pipe cleaner in half. This makes 2 steams. 


5. You can make the flower 2 different ways: with a green center from the stem peeking out or without the green center.


4a. To make the flower with a green center:


1. Take one large flower and one small flower


2. Glue the small flower to the large flower

3. Secure the large and small flower together


4. Push the green pipe cleaner through both the large and small flowers. 

4b. To make the flower without the green center:


1. Take one large flower and one small flower

 
2. Push the stem through the larger flower
 
3. Glue the small flower on top of the large flower, covering the part of the steam sticking out

 
4. Secure the small flower to the large flower. 


5. Decorate.


We decided to make a flower banner and decorate the classroom with these flowers: 


Friday, March 22, 2013

Spring Flowers


Spring means flowers will be blooming soon! Add some color with this simple craft that is fun for any age. 

Materials:
  • Construction paper 
  • Pencil
  • Scissors 
  • Tape 
Directions:
1. Trace your child's hand onto different colored construction paper. Cut out with scissors. 


2. Draw stems with leaves on green construction paper. Cut out with scissors. 


3. Fold the hand cut outs into the shape of a tulip: golf the pinky and thumb of the cut out towards each other. 


4. Tape the stem to the flower. 

5. Decorate. 

Wednesday, March 13, 2013

Saint Patrick's Day Window Decoration


You can make lots of window decorations for your home or classroom using only construction paper, tissue paper and glue. This craft is simple and fun to make with children of all ages. For more window decoration ideas, check out our Paper Stained Glass Window craft.

Materials:

  • Green construction paper
  • Green tissue paper
  • Pencil
  • Scissors
  • Glue
Directions: 

1. On a green piece of construction paper, draw the outline of a shamrock. Cut out with scissors. 


2. Fold the shamrock cutout in half and cut out, along the same outline, a smaller shamrock, leaving a shamrock outline. You can continue cutting out smaller and smaller shamrocks, if you desire. 

3. One you have cut out all the shamrocks, take out a piece of green tissue paper. 


4. Trace all the shamrock cutouts on the tissue paper. Cut out with scissors. 


5. Glue the tissue paper shamrocks to the corresponding construction paper shamrock outline. Allow to dry. 

6. Hang up on windows. 

Monday, March 4, 2013

Saint Patrick's Day Ornament


This Leprechaun ornament is both simple and fun for any age. It also makes a great decoration for around the classroom or home.

Materials:

  • Beige or white construction paper
  • Green construction paper 
  • Orange construction paper
  • Pencil
  • Scissors
  • Glue
  • Crayons, color pencils or markers 
  • Single hole punch
  • Ribbon
Directions:

1. On a beige or white piece of construction paper, draw or trace a circle. Cut circle out with scissors. This will be the Leprechaun's head. 


2. On a green piece of construction paper, draw the Leprechaun's hat. Use the circle as a guide to make sure the hat is proportional to the head (step 1). Cut out with a pair of scissors. 


3. Trace your child's hand on an orange piece of construction paper. Cut out with a pair of scissors. This will be the Leprechaun's  beard. 


4. Glue the hat to the top of the head and beard (with the fingers pointing down) to the bottom of the head. Have your child draw the Leprechaun's face on the head. 

5. With a single hole punch, make a hole in the top of the Leprechaun's hat. Loop a piece of ribbon through the hole and tie with a secure knot, both ends of the ribbon together.