Showing posts with label fun. Show all posts

Sunday, April 20, 2014

Everyday Montessori: Holding and Carrying a Knife

In today’s Everyday Montessori, we are focusing on the practical life skill of holding and carrying a knife. Teaching your child how to handle sharp objects is important for ensuring both safety and fun in the kitchen. For this exercise all you need a child’s knife or a blunt edged butter knife.

Steps:
  1. Have your child stand up with you 
  2. Hold the knife by the handle keeping the sharp edge facing left
  3. Hold the knife about 2 inches away from the 
  4. Carry the knife
In these four simple steps, you can teach your child both independence and responsibility for themselves and others. We hope you and your child have a safe and fun time in the kitchen! 

Tuesday, March 18, 2014

Reflection: Building Blocks for Future Learning

I graduated from Evergreen Montessori House (EMH) over 20 years ago, but the lessons I learned during my time there still impact my daily life. During my four years at EMH, Ms. Gargi supplied me with the tools and guidance to choose my own course of learning; nothing was out of my reach. By directing my own course of learning, I floated into the distant galaxies of the solar system and traveled to the Amazon rainforest, where I befriended sloths and swam with pink river dolphins. Math was not an abstract concept. I could see how each number got bigger as I counted my way to one hundred (see post “The Montessori Method and Math”). Nothing has changed at Evergreen Montessori House; students are still empowered to take control of their education. 

My experience at Evergreen Montessori House created a desire in me to learn and investigate the world around me. We never truly stop learning and never stop using our imagination; even today I explore the universe and swim with dolphins. My time at Evergreen Montessori House helped establish a firm foundation upon which I continue to build my library of knowledge. 


Friday, June 7, 2013

Cut Paper Flowers


This craft is easy and fun to make and is slightly different from other flower crafts. You can make this flower as a gift: just assemble and place in a jar.

Materials:

·         Construction paper – green and 3 other colors
·         3 different sized circles you can trace
·         Pencil
·         Scissors
·         Glue
·         Green pipe cleaners

Directions:

1. On three different pieces of construction paper that are 3 different colors, trace 3 circles of different sizes (small, medium and large). Cut the circles out with scissors.


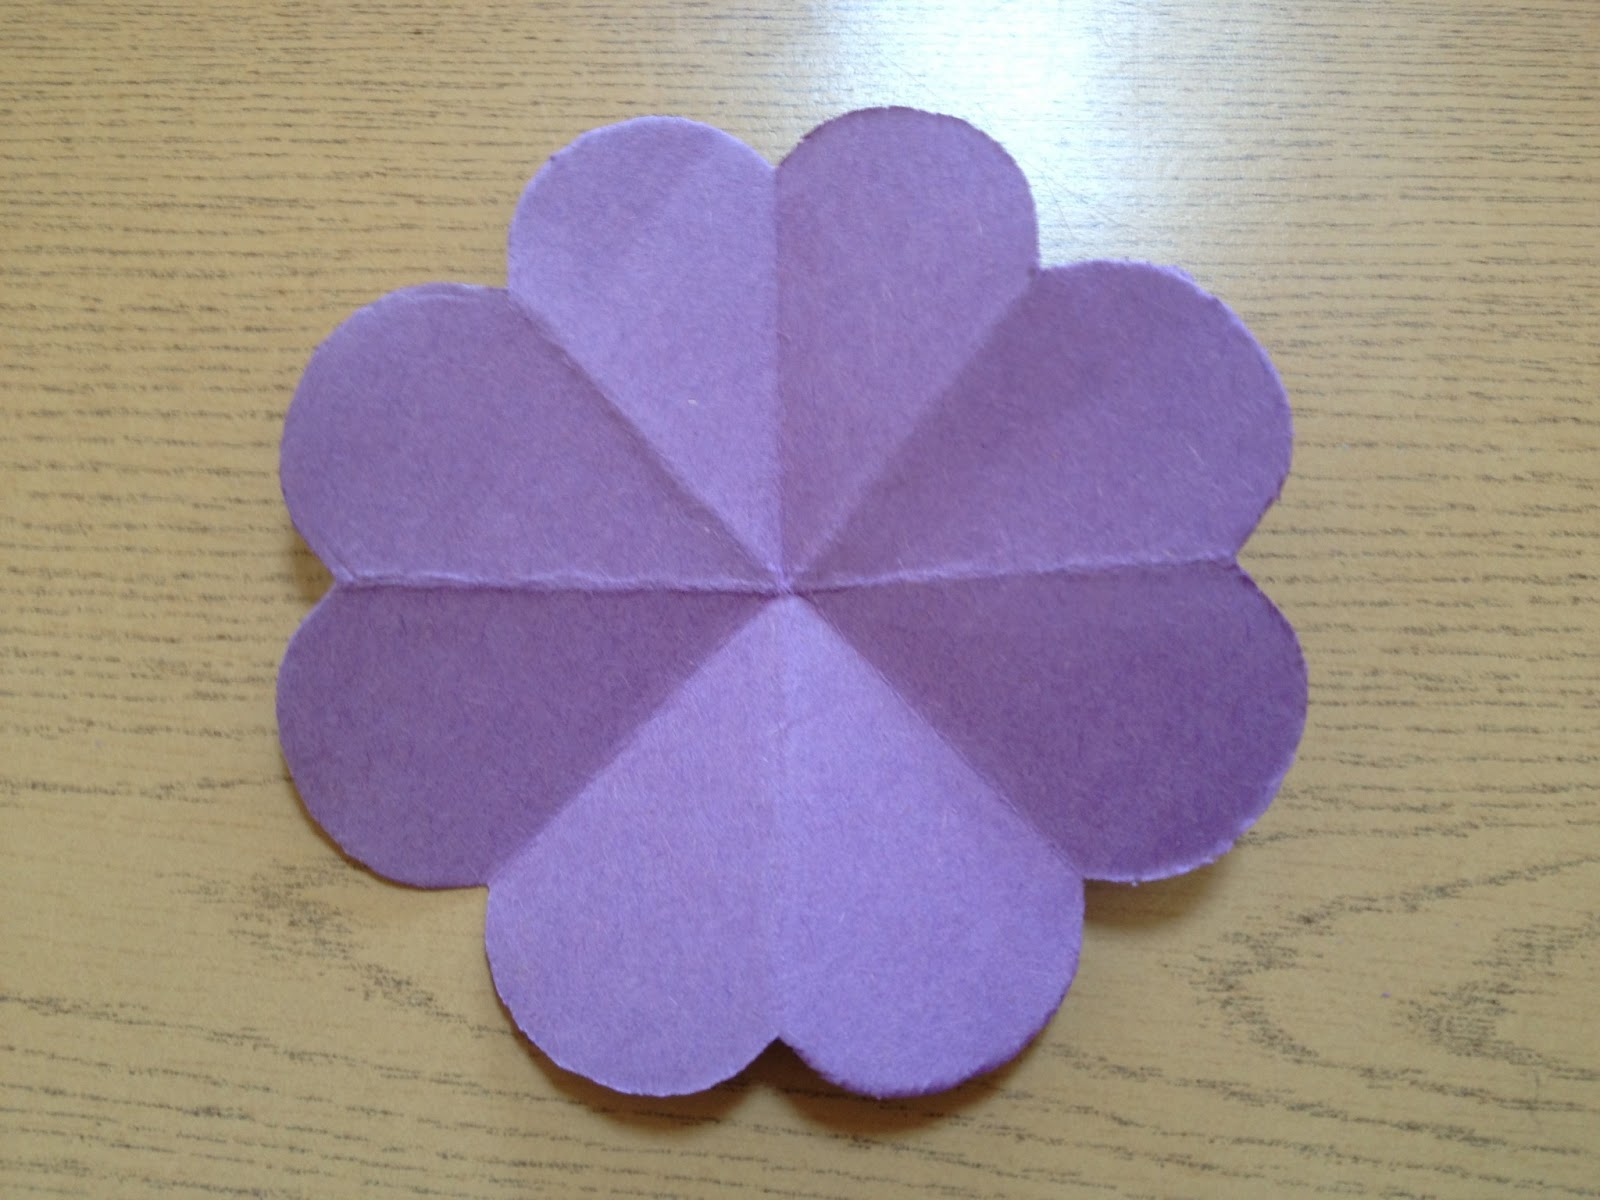
2. Fold the large circle in half, 4 times over.


3. Using a pencil, draw the outline of flower petals. The outline should be only a curve along the outer edge.  Cut along the curved line with scissors.


4. Glue the small circle to the medium circle.


5. With scissors, make small cuts along the edge of the medium circle.


6. Attach a green pipe cleaner to the large circle that has been cut to resemble a flower.


7. Glue the medium circle to the large circle.


8. On a green piece of construction paper, draw flower petals. Cut out the flower petals with scissors.


9. Glue the flower petal to the green pipe cleaner. 


Tuesday, May 28, 2013

Paper Caterpillar


This is a simple craft that only requires a sheet of paper and some glue! It is also great for developing fine motor skills: children use their fingers to fold and assemble the caterpillar.

Materials:

·         Paper
·         Scissors
·         Glue
·         Color pencils, crayons, markers and any material to decorate the caterpillar

Directions:

1. Fold a piece of paper in half, with the long sides together. Fold the paper in half again, 2 more times.


2. Unfold the paper. Cut along the folds. There should be 8 strips of paper.


3. Give your child 2 strips of paper. Have your child decorate 2 of the strips.


4. Dab glue on one end of one of the strips. Press the strip onto the end of the other strip to form a “V”.


5. Fold over the left strip and crease it. Fold it down, so it overlaps the right strip.


6. Fold over the right strip, so it overlaps with the left strip.


7. Continue folding over strip neatly over the other strip.

8. When you get to the end of the two strips, glue the ends together. You can also make a longer caterpillar, by gluing the ends of 2 more strips to the end, and repeating steps 3-7.


9. Decorate the caterpillar by adding feelers, eyes and etc. Remember to have fun!


Wednesday, May 1, 2013

Rocket Ship - Paper Towel Roll


This rocket ship is simple to make and your children can have a lot of fun playing with it, or using it as a science experiment.

Materials:

  • Paper towel roll
  • Cardboard
  • Masking Tape
  • Scissors 
  • Paint 
  • Stickers or other materials to decorate the rocket
Directions
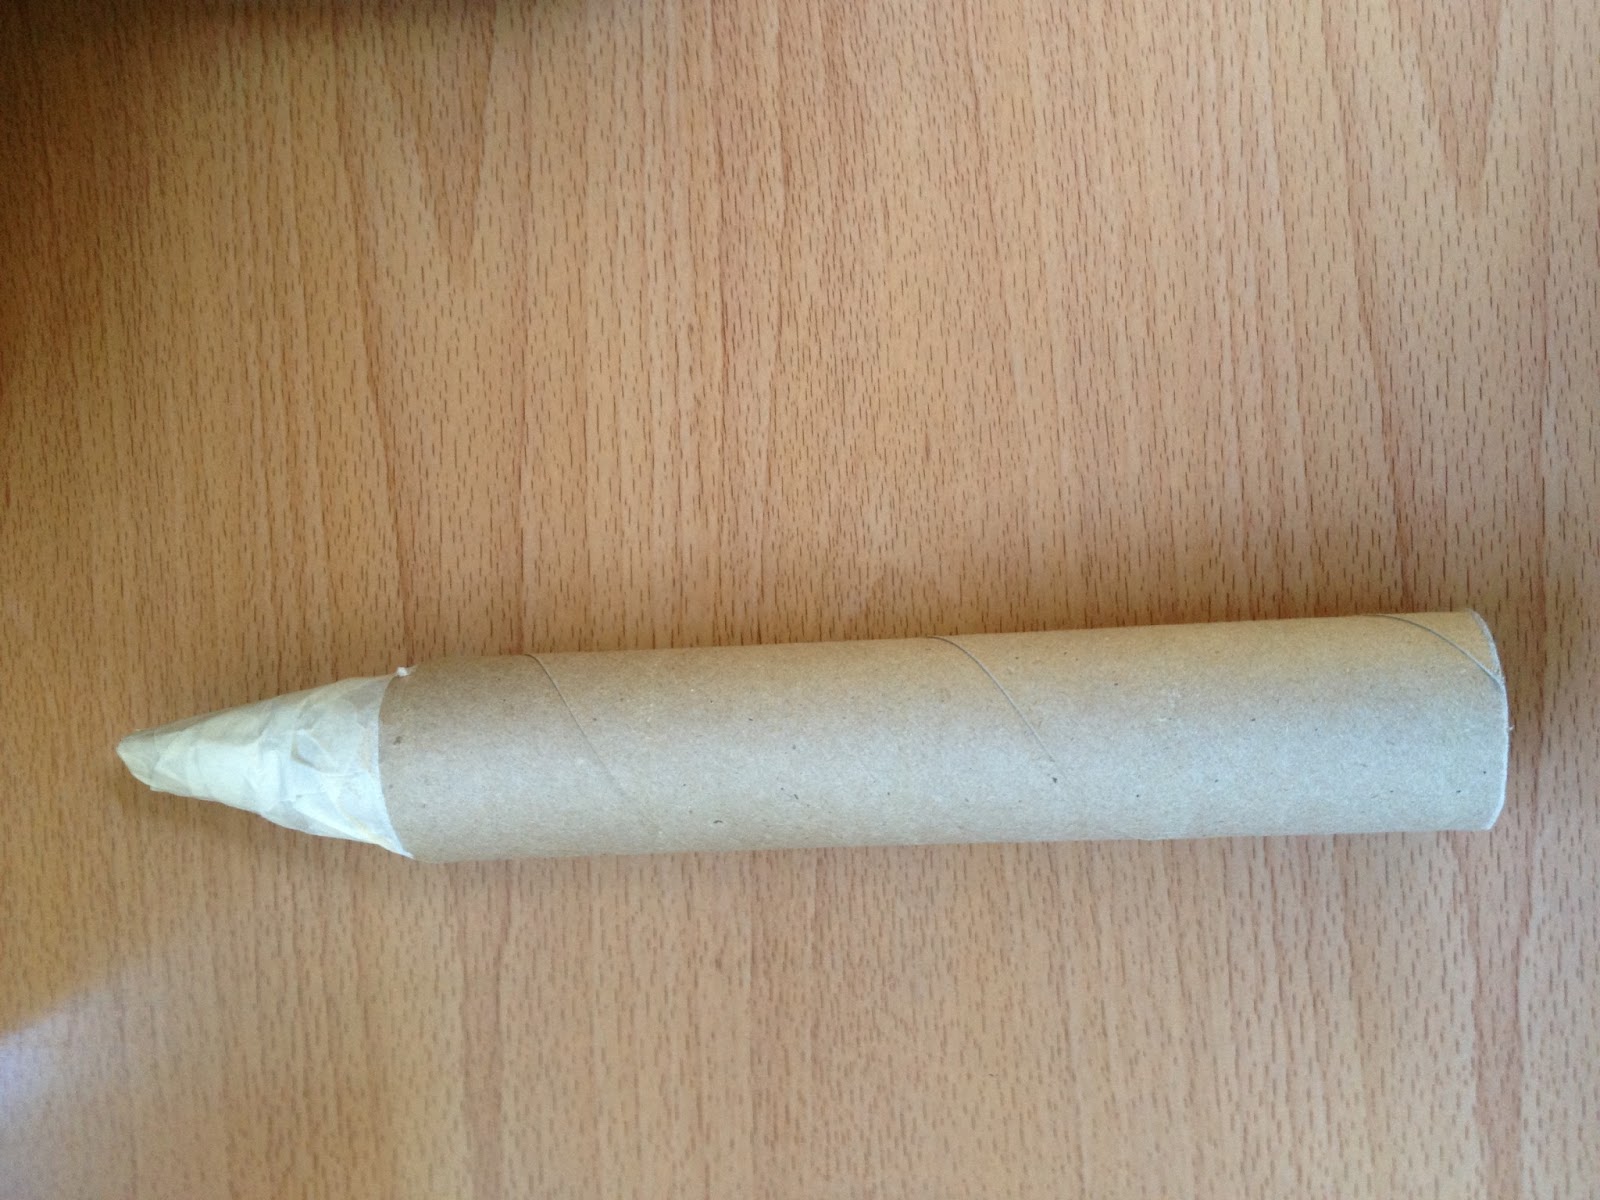
1. Cut four slits in the top of a paper towel roll, with scissors. The slits should all be the same length and should be able to overlap to form a cone. 


2. Form the cone and use masking tape to secure it. 


3. Make 2 rocket ship wings on a piece of cardboard. Cut out the wings with scissors. 


4. Fold up approximately 1cm the base of the wings. 


5. Secure the wings to the rocket using masking tape. 


6. Paint the rocket ship and decorate. 


Friday, April 12, 2013

Chicken Craft


This craft is really simple to make: all you need is to draw the outline of a chicken, 2 wings and feet on a piece of white paper. Ask your child to color the chicken, cut and glue.

1. On a piece of paper, draw the chicken's face and body, 2 wings and feet. Have your child color the picture.

2. Using a scissor, cut out the chicken from the paper.

3. Glue the feet to the bottom of the chicken's body.

4. Glue the larger wing to the chicken's body. 

5. Glue the wing with the outline to the back of the chicken.

Monday, April 1, 2013

Wildflower Craft


This year, make flowers for Mother’s Day! This craft is great for many age groups and can be as simple or as complex as you would like it to be.

Materials:
·         White paper
·         Pencil
·         Crayons, color pencils or markers
·         Scissors
·         Green pipe cleaner
·         Glue stick

Directions:

1. On a sheet of white paper, draw flowers. For this particular craft, it is recommended to draw an equal number of large and small flowers. On each paper, we drew 6 large flowers and 6 small flowers.


2. Have the children color the flowers.


3. Cut the flowers out with scissors.


4. With scissors, cut one green pipe cleaner in half. This makes 2 steams. 


5. You can make the flower 2 different ways: with a green center from the stem peeking out or without the green center.


4a. To make the flower with a green center:


1. Take one large flower and one small flower


2. Glue the small flower to the large flower

3. Secure the large and small flower together


4. Push the green pipe cleaner through both the large and small flowers. 

4b. To make the flower without the green center:


1. Take one large flower and one small flower

 
2. Push the stem through the larger flower
 
3. Glue the small flower on top of the large flower, covering the part of the steam sticking out

 
4. Secure the small flower to the large flower. 


5. Decorate.


We decided to make a flower banner and decorate the classroom with these flowers: