Showing posts with label paper bag. Show all posts

Tuesday, May 28, 2013

Paper Caterpillar


This is a simple craft that only requires a sheet of paper and some glue! It is also great for developing fine motor skills: children use their fingers to fold and assemble the caterpillar.

Materials:

·         Paper
·         Scissors
·         Glue
·         Color pencils, crayons, markers and any material to decorate the caterpillar

Directions:

1. Fold a piece of paper in half, with the long sides together. Fold the paper in half again, 2 more times.


2. Unfold the paper. Cut along the folds. There should be 8 strips of paper.


3. Give your child 2 strips of paper. Have your child decorate 2 of the strips.


4. Dab glue on one end of one of the strips. Press the strip onto the end of the other strip to form a “V”.


5. Fold over the left strip and crease it. Fold it down, so it overlaps the right strip.


6. Fold over the right strip, so it overlaps with the left strip.


7. Continue folding over strip neatly over the other strip.

8. When you get to the end of the two strips, glue the ends together. You can also make a longer caterpillar, by gluing the ends of 2 more strips to the end, and repeating steps 3-7.


9. Decorate the caterpillar by adding feelers, eyes and etc. Remember to have fun!


Friday, December 7, 2012

Paper Bag Stuffed Teddy Bears


Children color, stuff and sew their own teddy bears! Not only do the children have a lot of fun making this craft, but it also helps develop their fine motor skills. Before starting this craft, please note, it does require some, or a lot, of preparation, depending on the ages of the children you are working with. Also, it is recommended you prepare for this craft the day before you plan to complete it. 

Materials:
  • Paper Bag
  • Scissors
  • Pencil
  • Glue
  • Crayons, color pencils, markers or paint
  • Single hole punch
  • Yarn or any other string like material children can use to sew
  • Cotton balls or stuffing 
Directions:
1. With scissors, cut a paper bag so it can be opened a laid flat 


2. Fold the paper bag in half. 

3. Draw the outline of an entire teddy bear on each half of the paper bag. 


4. Using scissors, cut the outlines of the teddy bears out of the bag. You should have 2 teddy bear outlines. Draw an outline of the bear's face on one of the cutouts. This will be the front of the teddy bear. The other side (without the drawn face) will be the back of the teddy bear. 


5. Have the children cut the scrap pieces of the paper bag into small pieces. This will later be used as stuffing.


6. Glue at least one half of the two teddy bear cut outs together. It is recommended that you use liquid glue and allow the glue to dry overnight to make stuffing the bears easier for the children. Allow the glue to dry before continuing to the next step. 


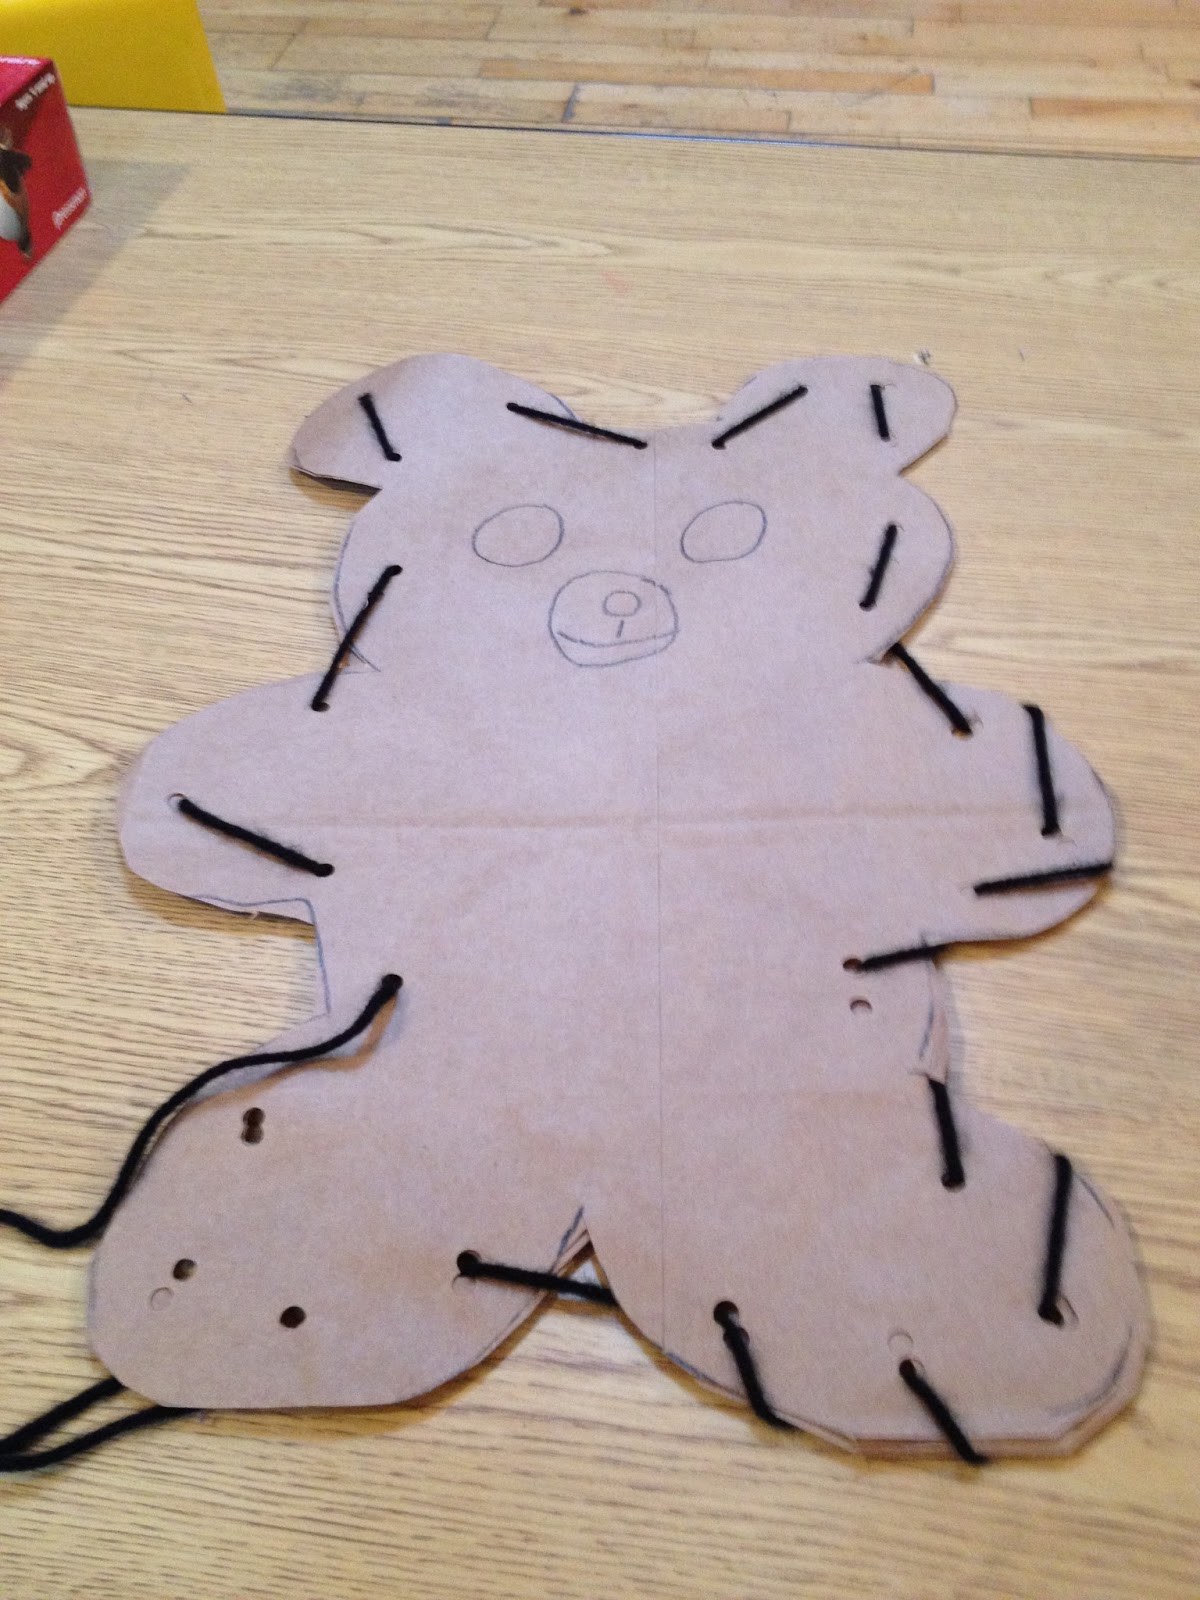
7. Using a single hole punch, make holes along the edge of the teddy bear. 


8. Color the teddy bear. 


9. Using yarn, have the children sew the bear by pulling the yarn through the holes with their fingers. At this step, only have them sew the part of the bear that is glued together. 


10. Help the children stuff the bear with cotton stuffing and the scraps of the paper bag. 


11. When the bear is completely stuffed, glue the unsealed part together. Allow to dry. 

12. Have the children finish sewing the bear together.