Showing posts with label play. Show all posts

Wednesday, May 1, 2013

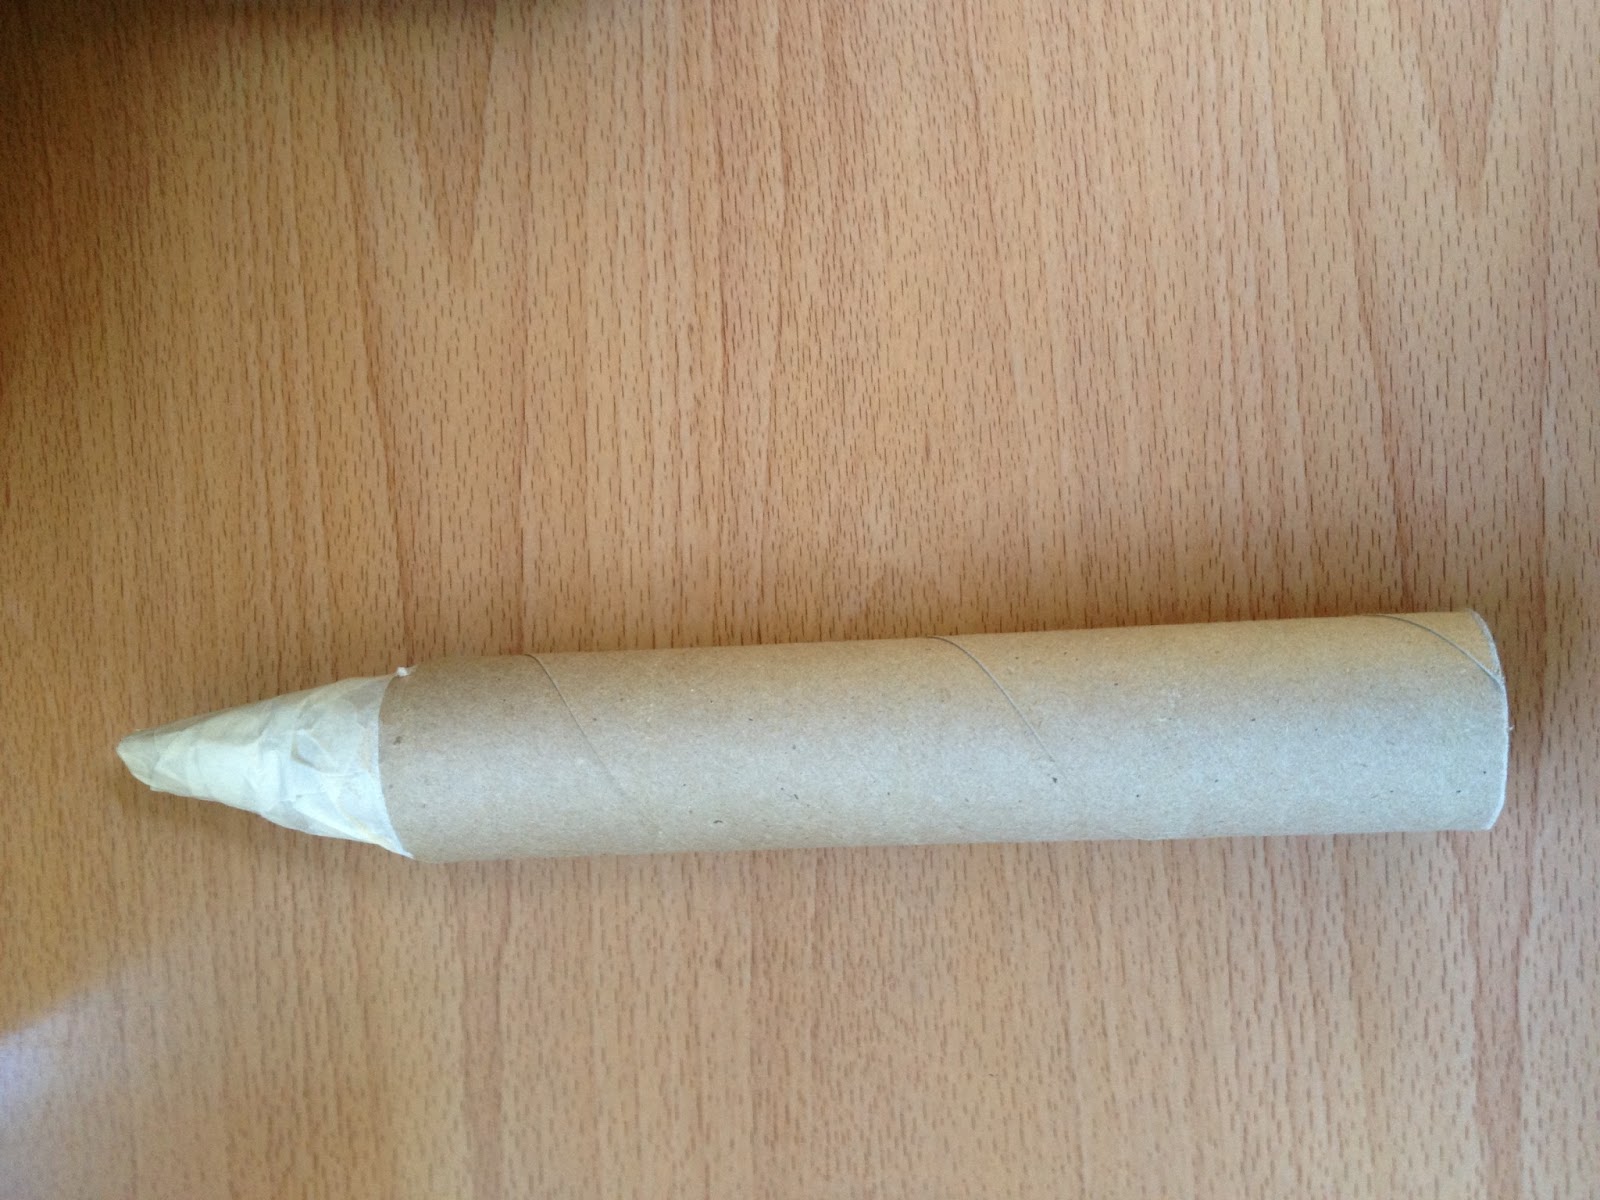
Rocket Ship - Paper Towel Roll


This rocket ship is simple to make and your children can have a lot of fun playing with it, or using it as a science experiment.

Materials:

  • Paper towel roll
  • Cardboard
  • Masking Tape
  • Scissors 
  • Paint 
  • Stickers or other materials to decorate the rocket
Directions
1. Cut four slits in the top of a paper towel roll, with scissors. The slits should all be the same length and should be able to overlap to form a cone. 


2. Form the cone and use masking tape to secure it. 


3. Make 2 rocket ship wings on a piece of cardboard. Cut out the wings with scissors. 


4. Fold up approximately 1cm the base of the wings. 


5. Secure the wings to the rocket using masking tape. 


6. Paint the rocket ship and decorate. 


Monday, April 1, 2013

Wildflower Craft


This year, make flowers for Mother’s Day! This craft is great for many age groups and can be as simple or as complex as you would like it to be.

Materials:
·         White paper
·         Pencil
·         Crayons, color pencils or markers
·         Scissors
·         Green pipe cleaner
·         Glue stick

Directions:

1. On a sheet of white paper, draw flowers. For this particular craft, it is recommended to draw an equal number of large and small flowers. On each paper, we drew 6 large flowers and 6 small flowers.


2. Have the children color the flowers.


3. Cut the flowers out with scissors.


4. With scissors, cut one green pipe cleaner in half. This makes 2 steams. 


5. You can make the flower 2 different ways: with a green center from the stem peeking out or without the green center.


4a. To make the flower with a green center:


1. Take one large flower and one small flower


2. Glue the small flower to the large flower

3. Secure the large and small flower together


4. Push the green pipe cleaner through both the large and small flowers. 

4b. To make the flower without the green center:


1. Take one large flower and one small flower

 
2. Push the stem through the larger flower
 
3. Glue the small flower on top of the large flower, covering the part of the steam sticking out

 
4. Secure the small flower to the large flower. 


5. Decorate.


We decided to make a flower banner and decorate the classroom with these flowers: 


Tuesday, March 26, 2013

Simple Paper Kite


You child can fly a kite outside or indoors. This kite is simplified for preschoolers, enabling them to make their own kite and fly it anywhere.


Materials:
·         Paper with an outline of a kite
·         Crayons, color pencils or markers
·         Scissors
·         Streamers
·         Stapler
·         Single hole punch
·         Ribbon

Materials:
1. On a piece of paper, draw the outline of a kite. Have your child color it and cut it out with scissors. 


2. Cut out a piece of streamer. Because children will be running with the kite, make sure the piece of streamer is short enough that your child will not step on it while playing. Secure the streamer to the bottom of the kite with a stapler. 

3. Fold the kite in half and punch 2 holes in the kite, equidistant from each other and the edge of the kite, on the line dividing the top and bottom of the kite.

4. Securely fasten a piece of ribbon through the holes (step 4). Make sure the ribbon is long enough that the kite can “fly” while your child is running.


5. You can decorate your classroom with the kite or have your child fly it. 


Thursday, February 7, 2013

Hats!

Make hats you can easily customize from Styrofoam plates and bowls.


Materials:
  • Styrofoam plate
  • Styrofoam bowl
  • Masking tape
  • Scissors
  • Paint and other materials to decorate 

Directions:
1. Place a Styrofoam bowl upside down on top of an upside down Styrofoam plate. Tape together with masking tape. 

2. Flip the hat over, so the plate is right side up. With a scissor, cut out a hole from the plate the same size as the bowl. 


3. Paint the hat. 

4. Decorate.

Friday, December 7, 2012

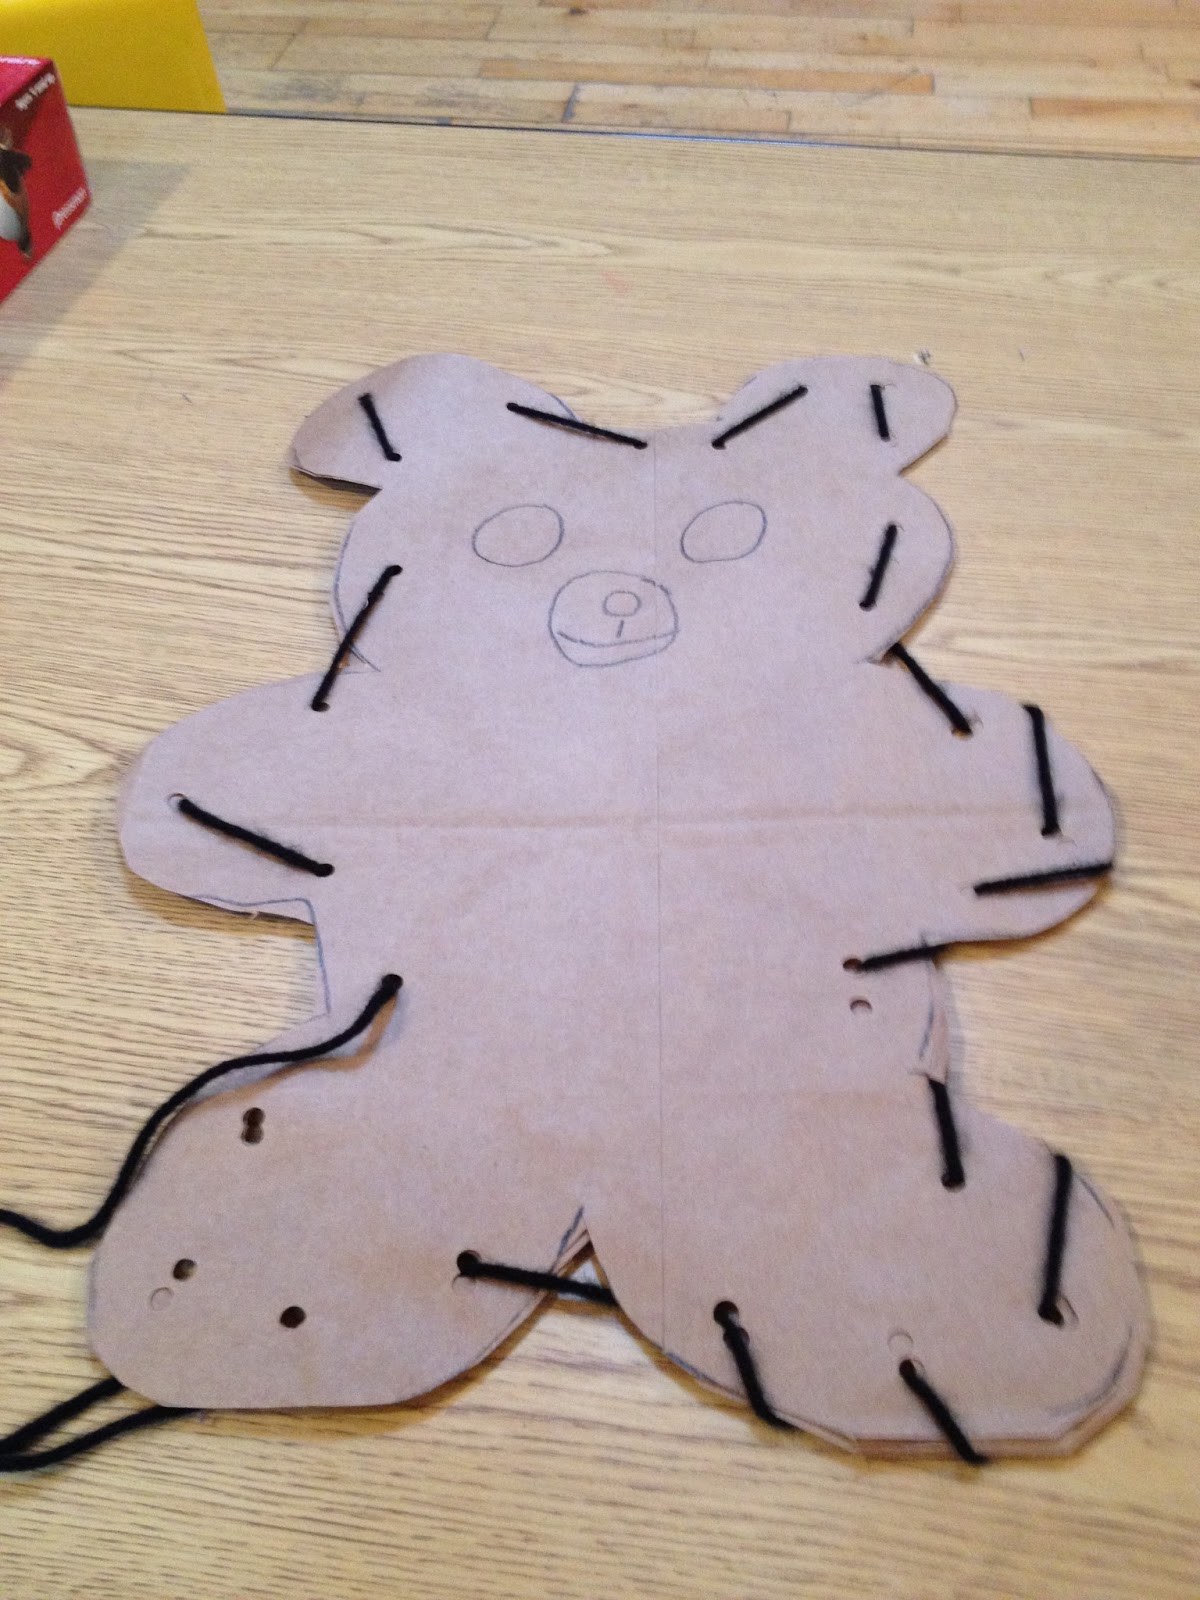
Paper Bag Stuffed Teddy Bears


Children color, stuff and sew their own teddy bears! Not only do the children have a lot of fun making this craft, but it also helps develop their fine motor skills. Before starting this craft, please note, it does require some, or a lot, of preparation, depending on the ages of the children you are working with. Also, it is recommended you prepare for this craft the day before you plan to complete it. 

Materials:
  • Paper Bag
  • Scissors
  • Pencil
  • Glue
  • Crayons, color pencils, markers or paint
  • Single hole punch
  • Yarn or any other string like material children can use to sew
  • Cotton balls or stuffing 
Directions:
1. With scissors, cut a paper bag so it can be opened a laid flat 


2. Fold the paper bag in half. 

3. Draw the outline of an entire teddy bear on each half of the paper bag. 


4. Using scissors, cut the outlines of the teddy bears out of the bag. You should have 2 teddy bear outlines. Draw an outline of the bear's face on one of the cutouts. This will be the front of the teddy bear. The other side (without the drawn face) will be the back of the teddy bear. 


5. Have the children cut the scrap pieces of the paper bag into small pieces. This will later be used as stuffing.


6. Glue at least one half of the two teddy bear cut outs together. It is recommended that you use liquid glue and allow the glue to dry overnight to make stuffing the bears easier for the children. Allow the glue to dry before continuing to the next step. 


7. Using a single hole punch, make holes along the edge of the teddy bear. 


8. Color the teddy bear. 


9. Using yarn, have the children sew the bear by pulling the yarn through the holes with their fingers. At this step, only have them sew the part of the bear that is glued together. 


10. Help the children stuff the bear with cotton stuffing and the scraps of the paper bag. 


11. When the bear is completely stuffed, glue the unsealed part together. Allow to dry. 

12. Have the children finish sewing the bear together.