Showing posts with label holiday. Show all posts

Monday, April 1, 2013

Wildflower Craft


This year, make flowers for Mother’s Day! This craft is great for many age groups and can be as simple or as complex as you would like it to be.

Materials:
·         White paper
·         Pencil
·         Crayons, color pencils or markers
·         Scissors
·         Green pipe cleaner
·         Glue stick

Directions:

1. On a sheet of white paper, draw flowers. For this particular craft, it is recommended to draw an equal number of large and small flowers. On each paper, we drew 6 large flowers and 6 small flowers.


2. Have the children color the flowers.


3. Cut the flowers out with scissors.


4. With scissors, cut one green pipe cleaner in half. This makes 2 steams. 


5. You can make the flower 2 different ways: with a green center from the stem peeking out or without the green center.


4a. To make the flower with a green center:


1. Take one large flower and one small flower


2. Glue the small flower to the large flower

3. Secure the large and small flower together


4. Push the green pipe cleaner through both the large and small flowers. 

4b. To make the flower without the green center:


1. Take one large flower and one small flower

 
2. Push the stem through the larger flower
 
3. Glue the small flower on top of the large flower, covering the part of the steam sticking out

 
4. Secure the small flower to the large flower. 


5. Decorate.


We decided to make a flower banner and decorate the classroom with these flowers: 


Wednesday, March 13, 2013

Saint Patrick's Day Window Decoration


You can make lots of window decorations for your home or classroom using only construction paper, tissue paper and glue. This craft is simple and fun to make with children of all ages. For more window decoration ideas, check out our Paper Stained Glass Window craft.

Materials:

  • Green construction paper
  • Green tissue paper
  • Pencil
  • Scissors
  • Glue
Directions: 

1. On a green piece of construction paper, draw the outline of a shamrock. Cut out with scissors. 


2. Fold the shamrock cutout in half and cut out, along the same outline, a smaller shamrock, leaving a shamrock outline. You can continue cutting out smaller and smaller shamrocks, if you desire. 

3. One you have cut out all the shamrocks, take out a piece of green tissue paper. 


4. Trace all the shamrock cutouts on the tissue paper. Cut out with scissors. 


5. Glue the tissue paper shamrocks to the corresponding construction paper shamrock outline. Allow to dry. 

6. Hang up on windows. 

Monday, March 4, 2013

Saint Patrick's Day Ornament


This Leprechaun ornament is both simple and fun for any age. It also makes a great decoration for around the classroom or home.

Materials:

  • Beige or white construction paper
  • Green construction paper 
  • Orange construction paper
  • Pencil
  • Scissors
  • Glue
  • Crayons, color pencils or markers 
  • Single hole punch
  • Ribbon
Directions:

1. On a beige or white piece of construction paper, draw or trace a circle. Cut circle out with scissors. This will be the Leprechaun's head. 


2. On a green piece of construction paper, draw the Leprechaun's hat. Use the circle as a guide to make sure the hat is proportional to the head (step 1). Cut out with a pair of scissors. 


3. Trace your child's hand on an orange piece of construction paper. Cut out with a pair of scissors. This will be the Leprechaun's  beard. 


4. Glue the hat to the top of the head and beard (with the fingers pointing down) to the bottom of the head. Have your child draw the Leprechaun's face on the head. 

5. With a single hole punch, make a hole in the top of the Leprechaun's hat. Loop a piece of ribbon through the hole and tie with a secure knot, both ends of the ribbon together. 

Wednesday, December 19, 2012

Pencil Holder

This craft is a simple gift idea that can easily be used for other purposes. During Halloween, we made a similar craft to put candy in. Another year, we placed Easter eggs inside a similar craft. This year, we decided to make this craft for Christmas as a pencil holder. 


Materials
  • Paper cup
  • Foam boards
  • Paint
  • Scissors
  • Stapler
  • Glue
  • Materials to decorate

Directions 

Step 1: Paint a paper cup. Allow to dry. 


Step 2: Cut out 3 circles from a foam board. When making these circles, make them large enough that the circles will overlap when attached to the paper cup and can be stapled together.

Step 3: Staple each foam circle to the paper cup. When stapling to the cup, make sure that: (1) the bottom of the circle is aligned to the bottom of the paper cup; (2) the circles are straight; and (3) the circles all overlap and can be stapled together.

Step 4: Staple each overlapping side of the circle together.

Step 5: Decorate


Friday, December 14, 2012

Decorative Pencil - Flower


Materials:


  • Pencil
  • small cardboard cut out of a circle 
  • foam hearts
  • pom pom 
  • pipe cleaner - 2 
  • scissor 
  • glue 


Directions
Step 1: Glue the foam hearts to the circle cut out

Step 2: Glue the pom pom to the center of the circle of hearts

Step 3: Starting approximately 2 inches from the tip of the pencil, tightly twirl the pipe cleaner around the pencil. Around the eraser, tightly wrap and bunch together the pipe cleaner. 

Step 4: Cut a second pipe cleaner in half. This will be the leaves. Approximately at the middle of the pencil, wrap around the pencil and form the leaves by folding over the ends of the pipe cleaner. 


Step 5: Glue the back of the cardboard ( the foam heart flower is glued) to the pencil. Allow to dry. 

Monday, December 3, 2012

Home in the Winter Craft

Make a winter home for Santa to visit! 


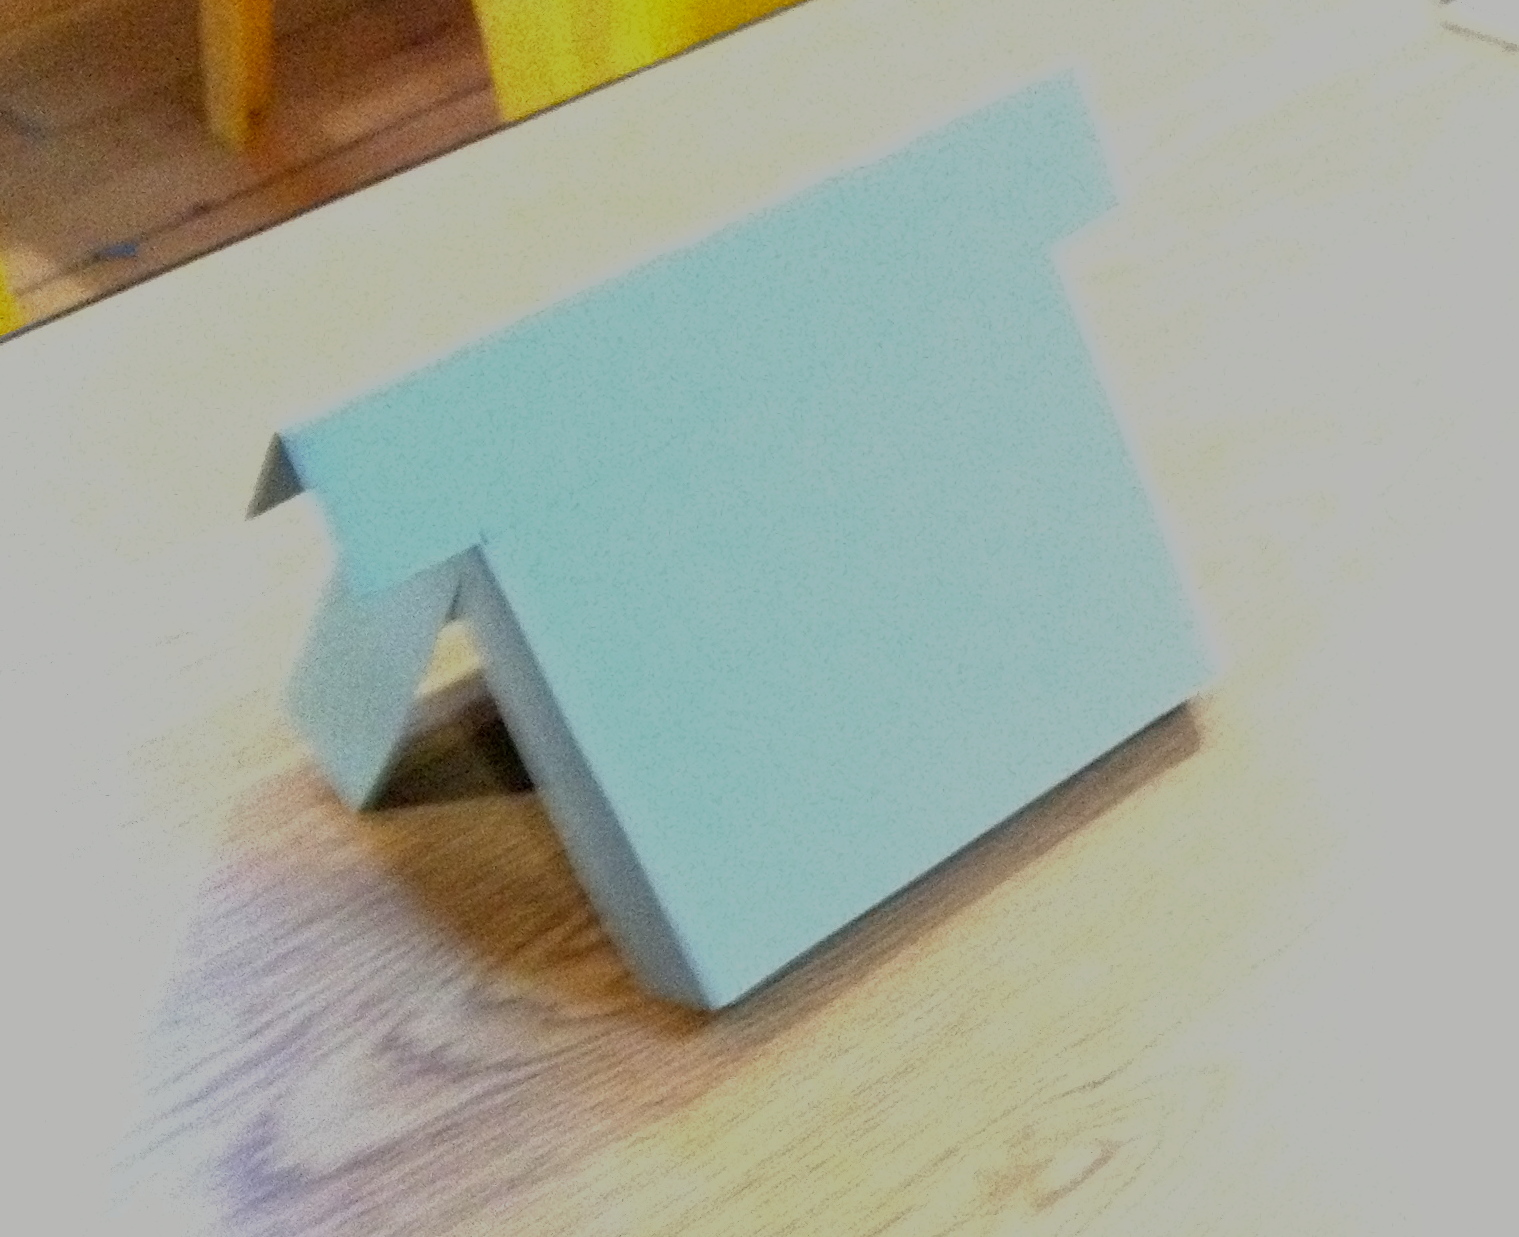
Please note: This craft takes a little time to prepare, especially with younger kids. Take some time to prepare this craft, by either marking the areas on the paper that need to be folded and cut, or folding and cutting the paper yourself, depending on the ages of the children who will be making this craft. 

Materials:
  • Card stock or another hard paper
  • Ruler
  • Pencil
  • Scissors
  • Glue
  • Cardboard - flat piece
  • Glitter or glitter paint
  • Crayons, color pencils, markers or paint 
Directions: 

1. Fold and cut a piece of card stock, following these steps: 


1. Fold card stock in half                 


2. Measure 1 inch margin across top along fold 

3. Measure and mark 1" from edge and top


4. Cut along line made in step 3
(1" from top and edge)
 
5. Measure and fold 1" edges,
1" from top of page.


6. Fold edges so they over lap. 


2. Lay card stock flat and draw outline for windows and door and roof.


3. Color the house. Glue the 1 inch over lapping edges (from step 1, part 6) together.


4. Take a piece of cardboard and color it green. Then either put glitter or glittery glue on the cardboard. Allow to dry. This will be the snowy ground.


5. Glue the completed house (step 3) to the snowy ground (step 4).


6. Decorate. We decided to add Santa coming down the chimney and a Christmas tree.

Monday, November 19, 2012

Thanksgiving Ornament

This is an easy craft that also make a great holiday decoration.


Materials:
• construction paper: brown, black, yellow, red, green
• giggly eyes
• white and yellow crayon
• pencil
• scissors
• glue stick
• hole punch
• ribbon

Directions:
1. Trace your child's hand on a piece of brown paper

2. Make a Pilgrim's hat out of black construction paper: cut out a hat from the construction paper and use a yellow crayon to make a buckle and a white crayon to make a band

3. Make the beak by cutting a triangle out of yellow construction paper and a BLANK out of red construction paper

4. Glue the hat, beak, thing and 2 giggly eyes to the thumb. This will be the turkey's head


5. Cut out one oval out of each construction paper: red, yellow, orange and green. Glue one oval to each remaining finger.

6. Cut 2 feet out of yellow construction paper. Glue to the bottom of the hand.

7. Using a hole punch, make a hole in the top of one of the fingers.

8. Loop a piece of ribbon in the hole and knot tightly.

9. Hang up the ornament and enjoy!