Tuesday, January 29, 2013

Paper Towel Airplane


This airplane is easy to make and sturdy, making it a great craft for young children.


Materials:
• 2 paper towel rolls
• paint
• scissors
• decorations for the plane

Directions:
1. Cut approximately 2 inches from one end of one paper towel roll

2. Cut the smaller paper towel roll into a rhombus and fold up the corners

3. Staple the rhombus to one end of the uncut paper towel roll

4. Approximately 1 inch into the opposite end of the paper towel roll, cut a 1 inch across the top of the paper towel roll. Make 2 flaps folded out


5. Affix the larger cut piece of paper towel roll to the flaps made in the previous step. Make sure it is secure

6. Paint and decorate!

Wednesday, January 16, 2013

Tissue Box Guitar


Singing while strumming along on a guitar is a fun activity that most children enjoy.

Front of the guitar


Materials:
• empty tissue box
• paper towel roll
• paper
• paint
• scissors


Directions:

Side of the guitar
Before starting, decide if your child wants to use the design already on the box or if your child wants to paint over the entire box. We found that dark colors easily cover the design. Bit, of your child wants light colors, it is better to cover the box with paper before starting.


1. With the scissors, make a hole the paper towel roll can fit securely in. We found that making a t shape that is a little smaller than the width of the paper towel roll works best

2. Slide in the paper towel roll. It should fit snugly. If it is loose, secure with glue or tape

3. Cut a piece of paper to fit on the back of the tissue box. Decorate.

 Back of the guitar

  4. Paint and decorate the tissue box and the paper towel roll

  5. When dry, slide 3 rubber bands onto the tissue box

  6. When dry, affix the decorated paper to the back of the tissue box


Enjoy!

Monday, January 7, 2013

Fairy Tale Castle

 One of our students enjoyed imagining herself to be a princess in a beautiful castle. Everyday, she would share a new story - one that was bright and imaginative. After one of her particularly colorful stories that the class enjoyed hearing, we decided to make her dream a reality by making a fairy tale castle.


Materials:

  • 2 paper towel rolls cut in half (with one left over half) or 3 toilet paper rolls 
  • scissors
  • stapler 
  • piece of cardboard
  • glue (we used tacky glue) 
  • paint 
  • additional materials to decorate the castle - for this castle we used crepe paper, pipe cleaners and popcorn foam 

Directions
1. Take 3 paper rolls (either paper towel rolls or toilet paper rolls). On two of the rolls, cut small squares out of the top, leaving a space between each cut out square. On one side, cut out small castle windows. On the third roll, cut out 2 small castle windows across from each other. 

2. Staple the rolls together. The rolls with the tops cut will be on either side, and the roll with only the windows will be in the middle

Step 3: Paint the paper towel rolls. Allow to dry


Step 4: Glue paper towel rolls to a piece of cardboard. 


Step 5: Paint the piece of cardboard. Allow to dry. 


6. When dry, use your imagination and decorate the castle! It can be as ornate or as simple as you would like!

Wednesday, December 19, 2012

Pencil Holder

This craft is a simple gift idea that can easily be used for other purposes. During Halloween, we made a similar craft to put candy in. Another year, we placed Easter eggs inside a similar craft. This year, we decided to make this craft for Christmas as a pencil holder. 


Materials
  • Paper cup
  • Foam boards
  • Paint
  • Scissors
  • Stapler
  • Glue
  • Materials to decorate

Directions 

Step 1: Paint a paper cup. Allow to dry. 


Step 2: Cut out 3 circles from a foam board. When making these circles, make them large enough that the circles will overlap when attached to the paper cup and can be stapled together.

Step 3: Staple each foam circle to the paper cup. When stapling to the cup, make sure that: (1) the bottom of the circle is aligned to the bottom of the paper cup; (2) the circles are straight; and (3) the circles all overlap and can be stapled together.

Step 4: Staple each overlapping side of the circle together.

Step 5: Decorate


Friday, December 14, 2012

Decorative Pencil - Flower


Materials:


  • Pencil
  • small cardboard cut out of a circle 
  • foam hearts
  • pom pom 
  • pipe cleaner - 2 
  • scissor 
  • glue 


Directions
Step 1: Glue the foam hearts to the circle cut out

Step 2: Glue the pom pom to the center of the circle of hearts

Step 3: Starting approximately 2 inches from the tip of the pencil, tightly twirl the pipe cleaner around the pencil. Around the eraser, tightly wrap and bunch together the pipe cleaner. 

Step 4: Cut a second pipe cleaner in half. This will be the leaves. Approximately at the middle of the pencil, wrap around the pencil and form the leaves by folding over the ends of the pipe cleaner. 


Step 5: Glue the back of the cardboard ( the foam heart flower is glued) to the pencil. Allow to dry. 

Friday, December 7, 2012

Paper Bag Stuffed Teddy Bears


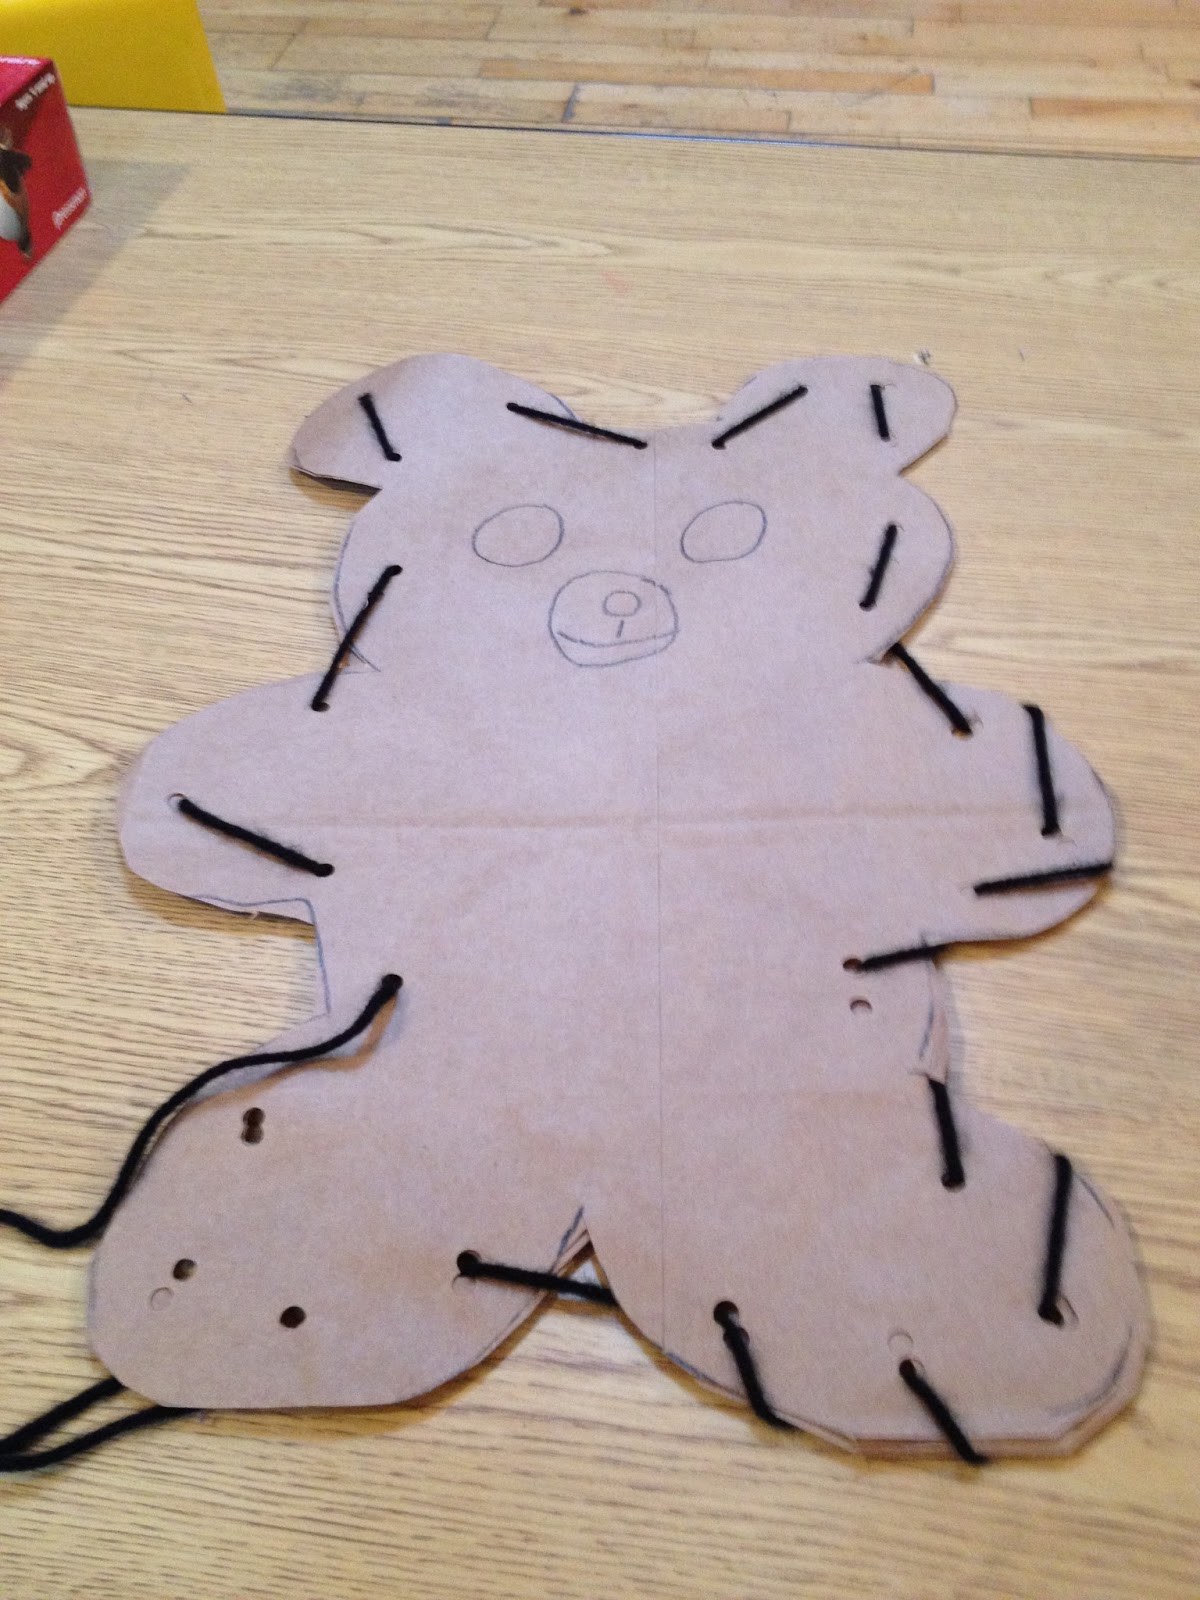
Children color, stuff and sew their own teddy bears! Not only do the children have a lot of fun making this craft, but it also helps develop their fine motor skills. Before starting this craft, please note, it does require some, or a lot, of preparation, depending on the ages of the children you are working with. Also, it is recommended you prepare for this craft the day before you plan to complete it. 

Materials:
  • Paper Bag
  • Scissors
  • Pencil
  • Glue
  • Crayons, color pencils, markers or paint
  • Single hole punch
  • Yarn or any other string like material children can use to sew
  • Cotton balls or stuffing 
Directions:
1. With scissors, cut a paper bag so it can be opened a laid flat 


2. Fold the paper bag in half. 

3. Draw the outline of an entire teddy bear on each half of the paper bag. 


4. Using scissors, cut the outlines of the teddy bears out of the bag. You should have 2 teddy bear outlines. Draw an outline of the bear's face on one of the cutouts. This will be the front of the teddy bear. The other side (without the drawn face) will be the back of the teddy bear. 


5. Have the children cut the scrap pieces of the paper bag into small pieces. This will later be used as stuffing.


6. Glue at least one half of the two teddy bear cut outs together. It is recommended that you use liquid glue and allow the glue to dry overnight to make stuffing the bears easier for the children. Allow the glue to dry before continuing to the next step. 


7. Using a single hole punch, make holes along the edge of the teddy bear. 


8. Color the teddy bear. 


9. Using yarn, have the children sew the bear by pulling the yarn through the holes with their fingers. At this step, only have them sew the part of the bear that is glued together. 


10. Help the children stuff the bear with cotton stuffing and the scraps of the paper bag. 


11. When the bear is completely stuffed, glue the unsealed part together. Allow to dry. 

12. Have the children finish sewing the bear together. 

Monday, December 3, 2012

Home in the Winter Craft

Make a winter home for Santa to visit! 


Please note: This craft takes a little time to prepare, especially with younger kids. Take some time to prepare this craft, by either marking the areas on the paper that need to be folded and cut, or folding and cutting the paper yourself, depending on the ages of the children who will be making this craft. 

Materials:
  • Card stock or another hard paper
  • Ruler
  • Pencil
  • Scissors
  • Glue
  • Cardboard - flat piece
  • Glitter or glitter paint
  • Crayons, color pencils, markers or paint 
Directions: 

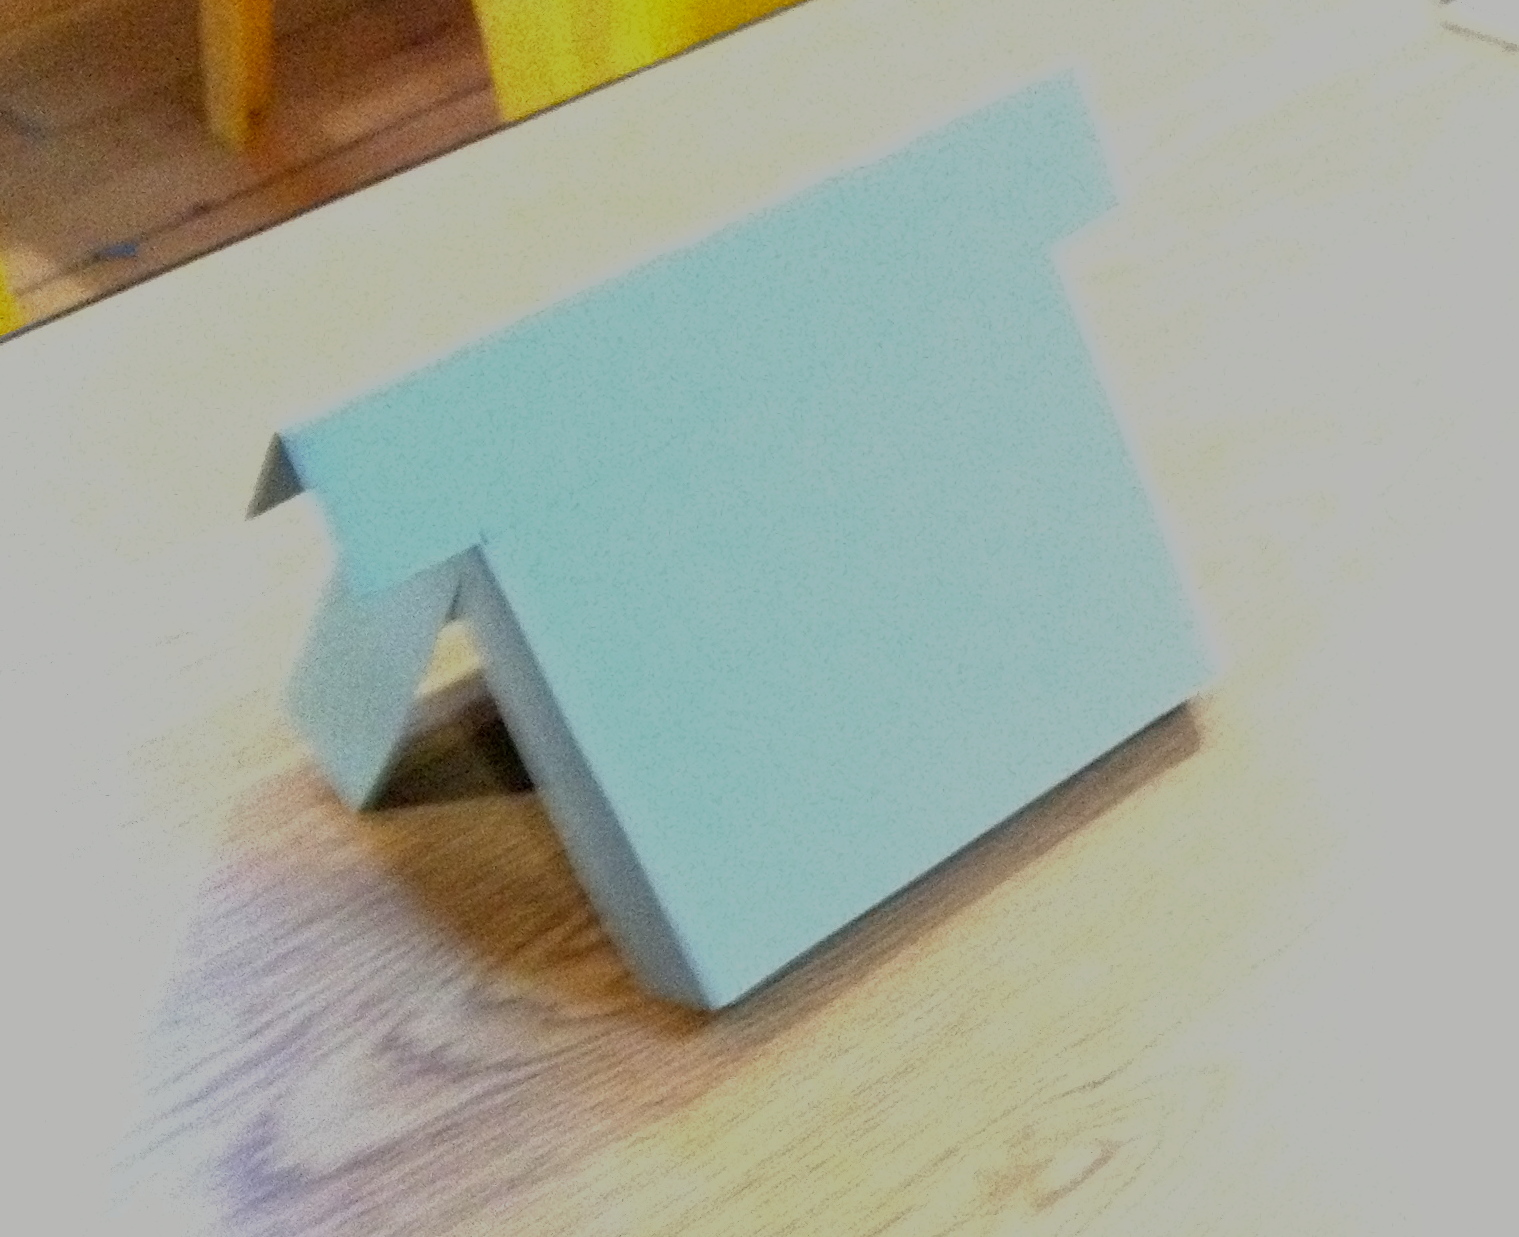
1. Fold and cut a piece of card stock, following these steps: 


1. Fold card stock in half                 


2. Measure 1 inch margin across top along fold 

3. Measure and mark 1" from edge and top


4. Cut along line made in step 3
(1" from top and edge)
 
5. Measure and fold 1" edges,
1" from top of page.


6. Fold edges so they over lap. 


2. Lay card stock flat and draw outline for windows and door and roof.


3. Color the house. Glue the 1 inch over lapping edges (from step 1, part 6) together.


4. Take a piece of cardboard and color it green. Then either put glitter or glittery glue on the cardboard. Allow to dry. This will be the snowy ground.


5. Glue the completed house (step 3) to the snowy ground (step 4).


6. Decorate. We decided to add Santa coming down the chimney and a Christmas tree.