Wednesday, December 19, 2012

Pencil Holder

This craft is a simple gift idea that can easily be used for other purposes. During Halloween, we made a similar craft to put candy in. Another year, we placed Easter eggs inside a similar craft. This year, we decided to make this craft for Christmas as a pencil holder. 


Materials
  • Paper cup
  • Foam boards
  • Paint
  • Scissors
  • Stapler
  • Glue
  • Materials to decorate

Directions 

Step 1: Paint a paper cup. Allow to dry. 


Step 2: Cut out 3 circles from a foam board. When making these circles, make them large enough that the circles will overlap when attached to the paper cup and can be stapled together.

Step 3: Staple each foam circle to the paper cup. When stapling to the cup, make sure that: (1) the bottom of the circle is aligned to the bottom of the paper cup; (2) the circles are straight; and (3) the circles all overlap and can be stapled together.

Step 4: Staple each overlapping side of the circle together.

Step 5: Decorate


Friday, December 14, 2012

Decorative Pencil - Flower


Materials:


  • Pencil
  • small cardboard cut out of a circle 
  • foam hearts
  • pom pom 
  • pipe cleaner - 2 
  • scissor 
  • glue 


Directions
Step 1: Glue the foam hearts to the circle cut out

Step 2: Glue the pom pom to the center of the circle of hearts

Step 3: Starting approximately 2 inches from the tip of the pencil, tightly twirl the pipe cleaner around the pencil. Around the eraser, tightly wrap and bunch together the pipe cleaner. 

Step 4: Cut a second pipe cleaner in half. This will be the leaves. Approximately at the middle of the pencil, wrap around the pencil and form the leaves by folding over the ends of the pipe cleaner. 


Step 5: Glue the back of the cardboard ( the foam heart flower is glued) to the pencil. Allow to dry. 

Friday, December 7, 2012

Paper Bag Stuffed Teddy Bears


Children color, stuff and sew their own teddy bears! Not only do the children have a lot of fun making this craft, but it also helps develop their fine motor skills. Before starting this craft, please note, it does require some, or a lot, of preparation, depending on the ages of the children you are working with. Also, it is recommended you prepare for this craft the day before you plan to complete it. 

Materials:
  • Paper Bag
  • Scissors
  • Pencil
  • Glue
  • Crayons, color pencils, markers or paint
  • Single hole punch
  • Yarn or any other string like material children can use to sew
  • Cotton balls or stuffing 
Directions:
1. With scissors, cut a paper bag so it can be opened a laid flat 


2. Fold the paper bag in half. 

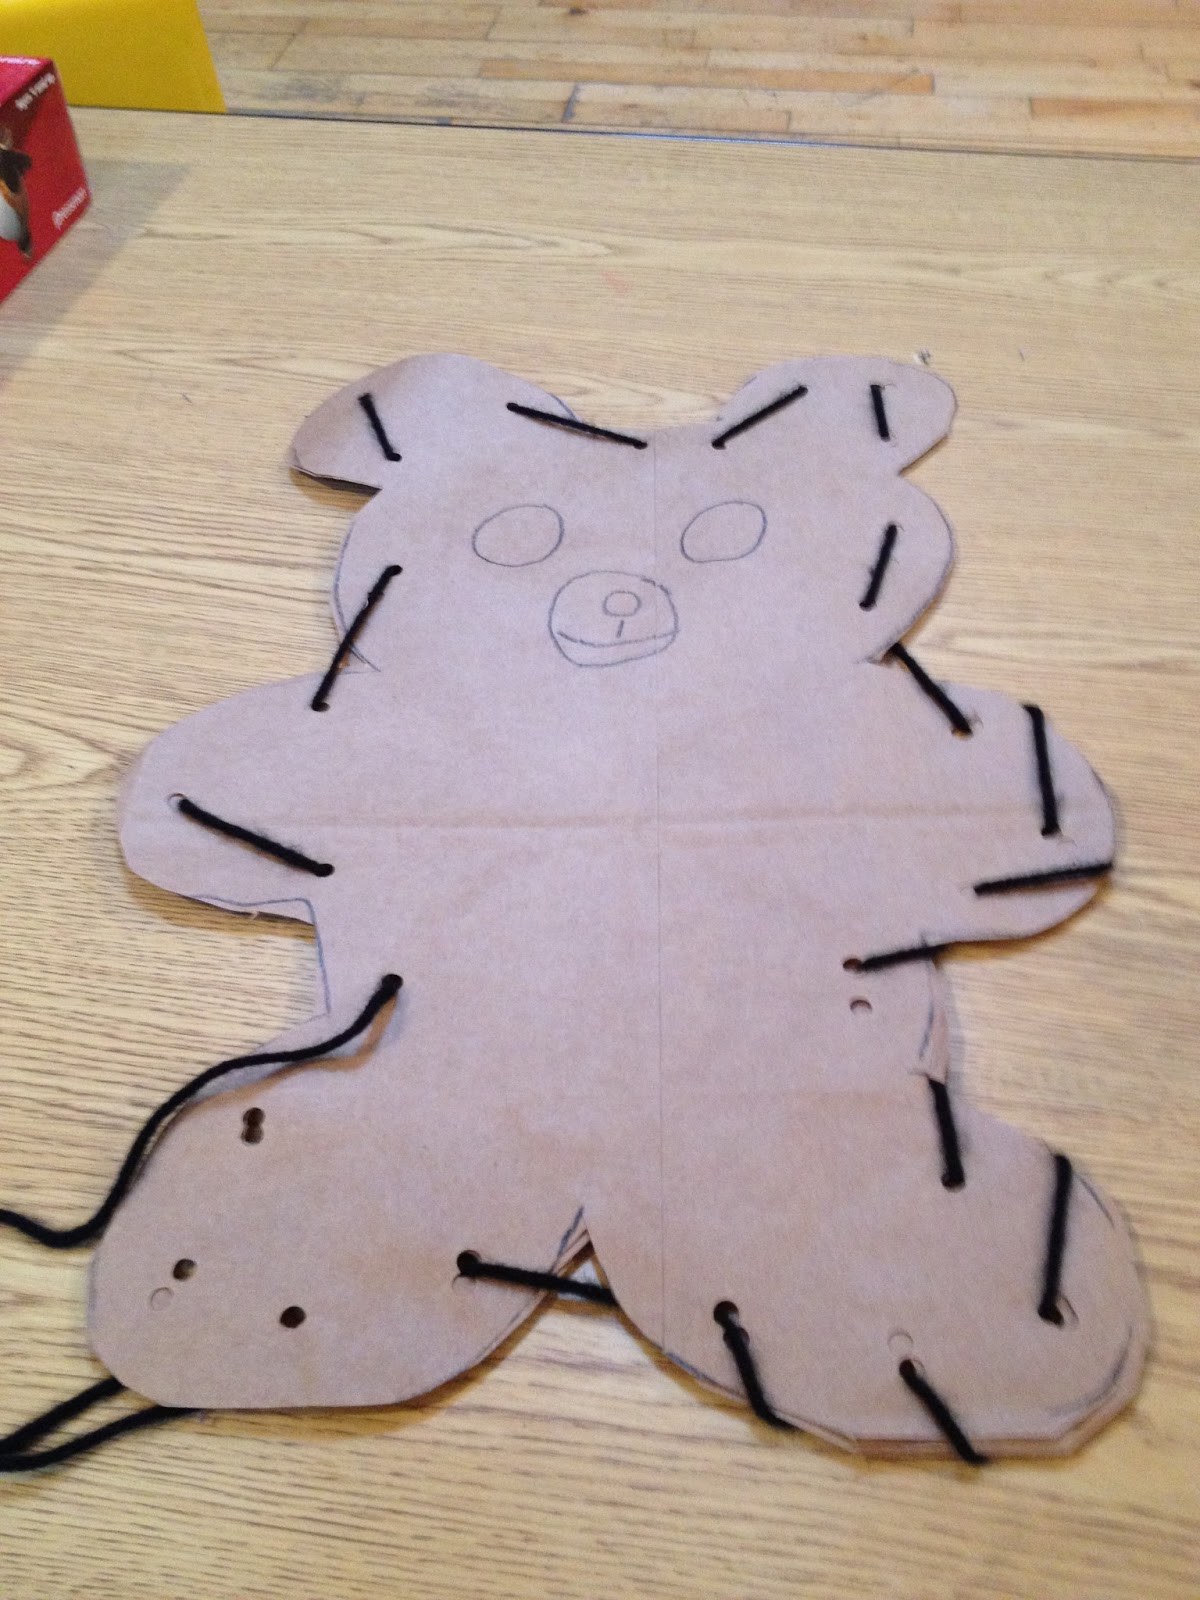
3. Draw the outline of an entire teddy bear on each half of the paper bag. 


4. Using scissors, cut the outlines of the teddy bears out of the bag. You should have 2 teddy bear outlines. Draw an outline of the bear's face on one of the cutouts. This will be the front of the teddy bear. The other side (without the drawn face) will be the back of the teddy bear. 


5. Have the children cut the scrap pieces of the paper bag into small pieces. This will later be used as stuffing.


6. Glue at least one half of the two teddy bear cut outs together. It is recommended that you use liquid glue and allow the glue to dry overnight to make stuffing the bears easier for the children. Allow the glue to dry before continuing to the next step. 


7. Using a single hole punch, make holes along the edge of the teddy bear. 


8. Color the teddy bear. 


9. Using yarn, have the children sew the bear by pulling the yarn through the holes with their fingers. At this step, only have them sew the part of the bear that is glued together. 


10. Help the children stuff the bear with cotton stuffing and the scraps of the paper bag. 


11. When the bear is completely stuffed, glue the unsealed part together. Allow to dry. 

12. Have the children finish sewing the bear together. 

Monday, December 3, 2012

Home in the Winter Craft

Make a winter home for Santa to visit! 


Please note: This craft takes a little time to prepare, especially with younger kids. Take some time to prepare this craft, by either marking the areas on the paper that need to be folded and cut, or folding and cutting the paper yourself, depending on the ages of the children who will be making this craft. 

Materials:
  • Card stock or another hard paper
  • Ruler
  • Pencil
  • Scissors
  • Glue
  • Cardboard - flat piece
  • Glitter or glitter paint
  • Crayons, color pencils, markers or paint 
Directions: 

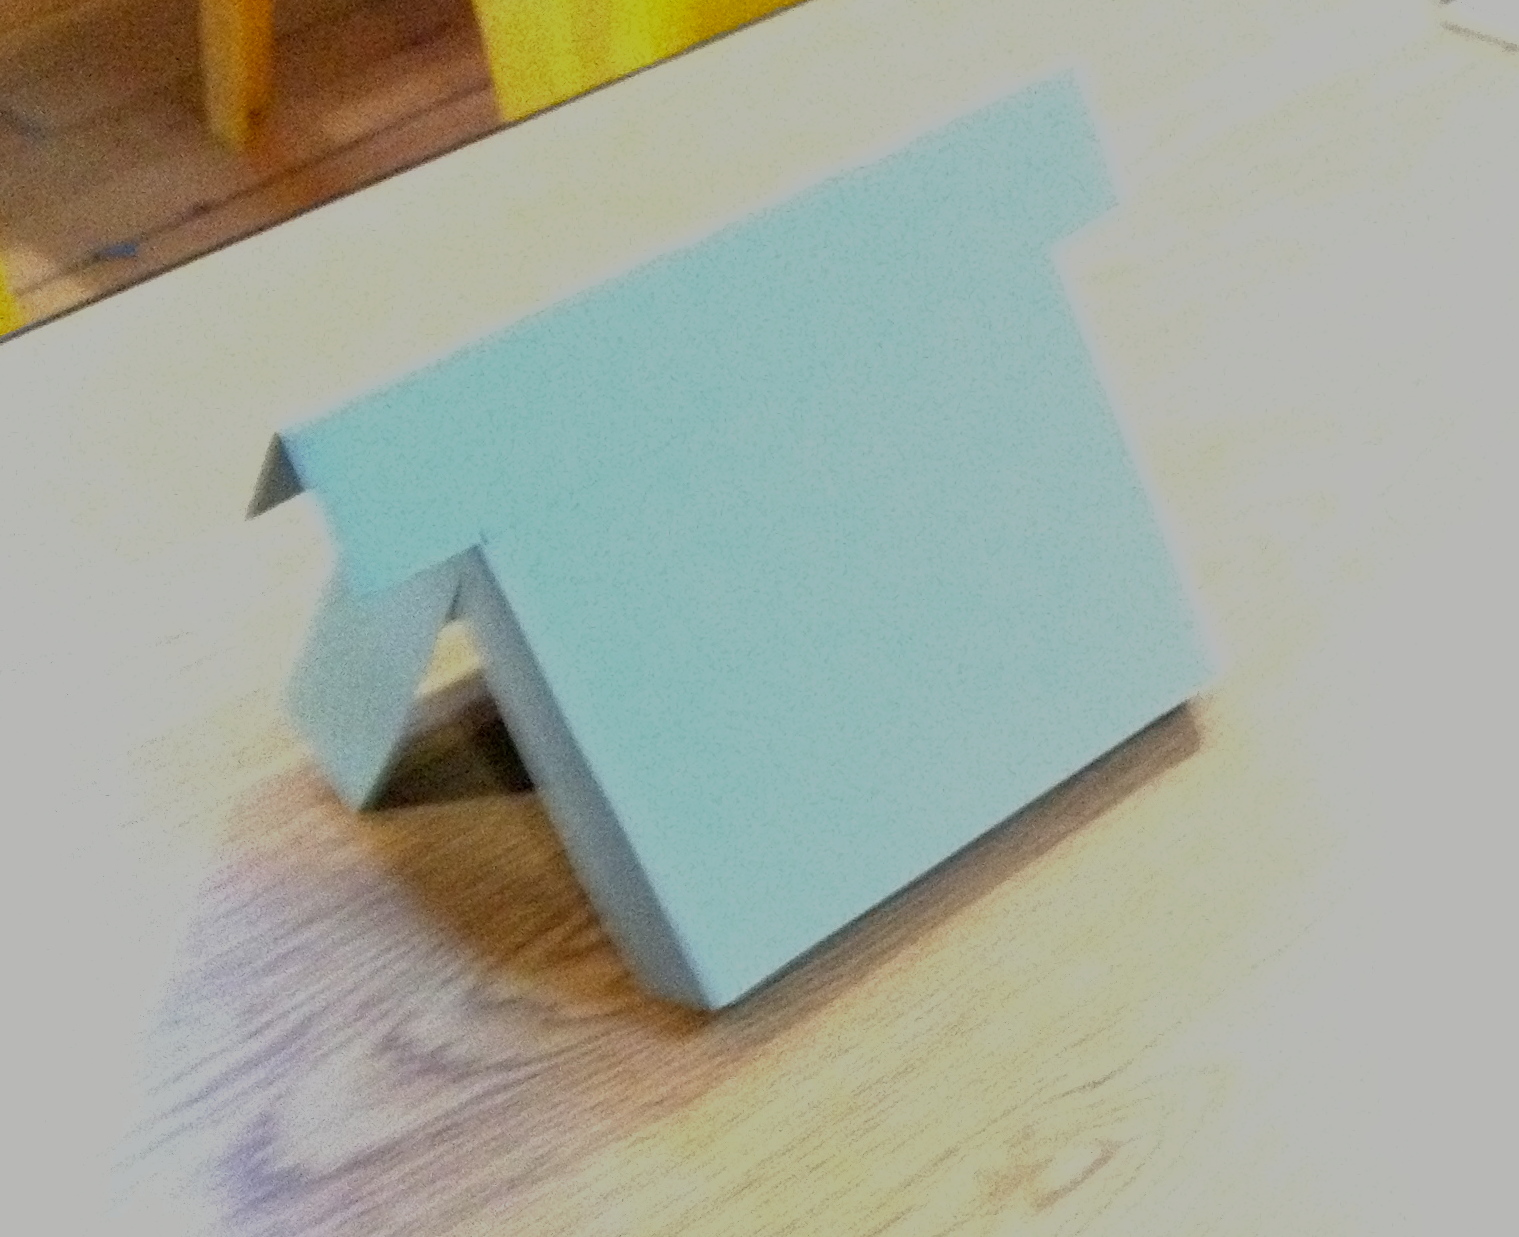
1. Fold and cut a piece of card stock, following these steps: 


1. Fold card stock in half                 


2. Measure 1 inch margin across top along fold 

3. Measure and mark 1" from edge and top


4. Cut along line made in step 3
(1" from top and edge)
 
5. Measure and fold 1" edges,
1" from top of page.


6. Fold edges so they over lap. 


2. Lay card stock flat and draw outline for windows and door and roof.


3. Color the house. Glue the 1 inch over lapping edges (from step 1, part 6) together.


4. Take a piece of cardboard and color it green. Then either put glitter or glittery glue on the cardboard. Allow to dry. This will be the snowy ground.


5. Glue the completed house (step 3) to the snowy ground (step 4).


6. Decorate. We decided to add Santa coming down the chimney and a Christmas tree.

Tuesday, November 27, 2012

Toy Safety


Did you know that, according to the American Academy of Pediatrics, approximately 300 children under the age of 4 years die every month in the United States because of accidents? On top of that thousands of more children are injured. All of these injuries and deaths can be prevented with simple steps.

Believe it or not, toys can be a health risk to children, if they are not handled, stored or used correctly. Common hazards include choking, cuts, and hearing damage.

To prevent these hazards:
1.     Select toys that are safe and developmentally appropriatefor your child.
·        When selecting toys, look for the UL Approvedstamp. Underwriter Laboratories (UL) is an independent company that verifies thesafety of children’s toys
·        Read labels and make sure the toy is ageappropriate for your child
·        Some common toy hazards to avoid: sharp edges,loud noises and strings greater than 7 inches in length
·        Some age appropriate toys

Age
Examples of toys
Infants (0-12 months)
Large plastic blocks, rattles, soft washable toys, busy boards, and squeeze toys
Toddlers (1-2 years)
Cloth or plastic books, sturdy dolls, nesting blocks, push and pull toys, and stacking toys
Preschoolers (2-5 years)

Books, crayons, blackboards, chalk, housekeeping toys, building blocks, and  simple puzzles

2.     Maintain your child’s toy and make any repairsto damaged toys.
·        Children can choke on loose buttons and beads
·        If your wooden toys has a chipped corner, yourchild can get cuts from it

3.     Store your child’s toys away from where yourchild walks and runs in secure bins.
·        Your child can choke on toys that have danglingstrap greater than 7 inches long
·        If you store toys in a cupboard on a shelf, makesure there are no hanging strings or straps. If your child pulls on a danglingstrap, he or she can be injured if the entire cupboard falls on him or her.  

4.     And always supervise your child during play.  

We will continue to post child safety and protection tips throughout November. Visit us soon to stay posted!

References:
American Academy of Pediatrics: http://www.aap.org 

Hearron, Patricia. Management of Child Development Centers. Pearson Higher Education (2007).

Herr, Judy. Working With Young Children. Goodheart-Wilcox (2008).

www.safety.com. General, updated information (2010).

Wednesday, November 21, 2012

Thanksgiving Turkeys


Gobble gobble! Here come the turkeys! This craft is simple and so much fun.

Materials:

  • paper plate
  • construction paper - red, orange, yellow and brown
  • giggly eyes
  • scissors
  • glue
  • stapler 
  • brown crayons or markers or color pencil or paint
Directions: 
  1. Take red, orange and yellow construction paper. Holding the paper in landscape orientation, cut the construction paper into strips approximately 1/2 inch wide. For each paper, cut 2 strips for each turkey. This will be the turkey's feathers. 
  2. Take a brown piece of construction paper. Holding the paper in portrait orientation, cut strips approximately 1/2 inch wide. Cut 2 strips for each turkey. This will be the turkey's feet.
  3. Cut circles out of brown construction paper, one for each turkey. This will be the turkey's head. 
  4. Using yellow construction paper, cut out one square for each turkey. This square will be folded in half to be used as the turkey's beak. 
  5. On a red piece of paper, cut out the wattle. This will look like two ovals overlapping one another. 
  6. Cut out 2 small triangles for each turkey that are approximately 1/2 inch in length at the base. This will be the turkey's feet
  7. Color a paper plate brown
  8. Fold the paper plate in half. The straight edge of the folded plate will be on the bottom. 
  9. Staple the brown circle (step 3) to the top of the folded paper plate. 
  10. Staple the brown strips (step 2) to the bottom of the folded paper plate. 
  11. Staple the feathers (step 1) to the paper plate by placing one edge of the strip on the front of the turkey and the other edge of the strip on the back of the turkey. 
  12. Glue 2 giggly eyes and one beak (step 4) to each turkey's head. Glue the wattle underneath the beak. 
  13. Glue the feet (step 6) to the bottom of the turkey's feet. 

Monday, November 19, 2012

Thanksgiving Ornament

This is an easy craft that also make a great holiday decoration.


Materials:
• construction paper: brown, black, yellow, red, green
• giggly eyes
• white and yellow crayon
• pencil
• scissors
• glue stick
• hole punch
• ribbon

Directions:
1. Trace your child's hand on a piece of brown paper

2. Make a Pilgrim's hat out of black construction paper: cut out a hat from the construction paper and use a yellow crayon to make a buckle and a white crayon to make a band

3. Make the beak by cutting a triangle out of yellow construction paper and a BLANK out of red construction paper

4. Glue the hat, beak, thing and 2 giggly eyes to the thumb. This will be the turkey's head


5. Cut out one oval out of each construction paper: red, yellow, orange and green. Glue one oval to each remaining finger.

6. Cut 2 feet out of yellow construction paper. Glue to the bottom of the hand.

7. Using a hole punch, make a hole in the top of one of the fingers.

8. Loop a piece of ribbon in the hole and knot tightly.

9. Hang up the ornament and enjoy!

Monday, November 5, 2012

Civic Engagement and the Young Child

One of our students carrying the flag during a graduation ceremony.

Election Day 2012 is tomorrow, November 6. No matter who you support, go to the polls and vote. It is an opportunity for you to voice your opinions and can also be a teaching moment for your young child.

You might think your young child is not interested in politics. And with many children, you would be correct – politics simply is not interesting. It’s tedious and can be downright nasty.

 However, as a teacher, I have observed some children are interested politics. In fact, this summer I observed two children, ages 4 years and 6 years, have a serious discussion about the presidential candidates. One child was even able to recite a candidate’s speech verbatim! Little ears hear big things and you never know what your child picks up and absorbs. Talk to your child – you might be surprised to find the future president in front of you.

I had no interest in politics when I was a young child. When my father took me to the polls with him, it was an exciting process and an important introduction to the responsibilities of citizenship.

I waited solemnly in line to wait for the next open booth, anticipating the vote. When it was my father’s turn, and we entered the small booth, I remember wondering what was so important about picking up a felt topped marker and filling in bubbles - I did it all the time in school! There were no levers to pull or exciting gadgets; it was just a long piece of paper with a list of names. However, my excitement was soon restored as I watched the gentleman in front of us feed his ballot into the machine. My father handed me his ballot and allowed me to slide it in. I took this responsibility very seriously, carefully placing the ballot into the slot. I watched with amazement as the machine snatch the ballot. Best of all, I received a sticker for voting!

I remember leaving the polling location, feeling as though I made a difference. It was a great feeling to have as a young child and it is a feeling that remains with me today as a voting citizen. 

So please, go vote. And, if you are able to, consider including your child in the process.  

Thursday, November 1, 2012

November is Child Safety and Protection Month

November is Child Safety and Protection month! Take this month to review safety and protection with your family to help keep your child safe.

All month long we will be sharing tips with you on how to keep your children safe.

Child safety tip #1: Make sure your child is secured safely in the car with an age appropriate car seat, booster seat or seat belt. Not only is this the law but it can save your child's life in an accident.

We understand that it can be difficult for parents to know which restraint to use and how to use them correctly. We recommend that you visit www.nhtsa.gov/Safety/CPS to learn about child restraint laws, how to use child restraints, child restraint recalls and other important information you need to keep your child safe while in the car.

All of us at Evergreen Montessori House wish you a fun and safe November.

Tuesday, October 23, 2012

Fall Tree


This is an easy and fun craft that you can easily customize for your curriculum.


Materials:
• yellow construction paper
• toilet paper roll
• paint: brown, red and orange
• 2 shallow bowls or dishes your child's finger can the bottom
• pencil
• scissors
• paint brush

Directions:
1. Draw the outline of a tree top and cut out

2. Paint the toilet paper roll brown

3. Put some red paint and orange paint in shallow bowls

4. Dip your child's index finger in one of the bowls. Remove your child's finger and have your child place finger prints on the tree top. Repeat with the second bowl of paint

5. When dry, cut 2 small slits in opposite sides of the toilet paper roll

6. Securely place the tree top in the slits made on the toilet paper roll. It should be able to stand upright.

You can easily accessorize the tree by adding animals (such as squirrels or owls or other animals).

You can also teach STEM topics, such as science (e.g., season changes, birds, small mammals), or mathematics (e.g., count the number of leaves, sorting colors, graphing) and much more!

Wednesday, October 17, 2012

Pretty Peacock Craft


One of our students' favorite books is about a proud peacock who flew away from home. The peacock in the story was vain because he was so beautiful. The children wanted to be able to act out the story, and asked us to make a beautiful peacock. In response, we came up with this easy craft.

Materials:
  • Construction paper
  • Scissors
  • Glue
  • Markers 
  • Glitter


Directions: 


1. On a piece of construction paper (we used teal) draw the the head (with feathers on top), the body and the wings of the peacock. Use a marker to draw in the feathers on the wings. 

2. On another piece of construction paper (yellow), draw the beak, eyes and feet. Fill in the eyes with a marker. 

3. On another piece of construction paper (we used purple), draw six ovals. This will be the tail feathers. Use another construction paper (we used green) and cut out small ovals to glue to the feathers. 


4. Glue the eyes and beak to the peacock's face. Glue the feet to the bottom of the body. Arrange the tail feathers around the body and glue. 

5. Add glitter to the tail feathers and around the neck. 

Wednesday, October 3, 2012

Paper Stained Glass Window

A craft that adds color to the room! This craft can be difficult for young children; gauge your child's strengths before starting.


Materials:
• black construction paper
• crepe paper
• scissors
• pencil
• glue
• stencils (optional)
• duct tape

Directions:

Before you begin, plan what you want to put in the windows. When making your plan, it is important that you leave at least 1/2 inch between images. When working with young children, it is recommended to leave 1 inch between images to help the child with cutting and gluing.

1. In a piece of construction paper, draw or trace the images you want in your stained glass window. Leave at least 1/2 inch margin around all images and the border of the paper


2. Cut out the images. This can be difficult for young children. We found that after making the initial cut and cutting out the center of the image. Preschoolers can cut the rest of the images out

3. Cut out crepe paper to fit in each cut out image. There are several important things to remember. This will be hanging on your window, so try to keep the back side as clean as possible. For pastel or light crepe papers, you may need to glue 3-5 layers of crepe paper for the color to show

4. Once dry, hang on a window with masking tape.

Tuesday, September 25, 2012

Mancala Simplified for Preschoolers

Mancala is a term used to describe a type of counting game. Kalah (which is simply referred to as Manacala in the United States) is one type of Mancala game. In most Mancala games, players move counters (or seeds) between pits and stores. The winner of the game accumulates the most counters in his or her store. 

Some Mancala games have complex rules, while others are more simple. In the version played most often in the United States, there are 48 counters, 12 pits and one house at each end of the board. For a preschooler, this can become confusing. We wanted our students to benefit from the counting and critical thinking components of the game, but did not want to confuse them with developmentally advanced concepts. We modified the game to be more developmentally appropriate for our students.


Materials:

  • egg carton
  • scissors 
  • glue
  • paint
  • "counters" 


Directions:

1. Cut the egg carton in half. The bottom portion of the egg carton (where the eggs are kept) will be the Mancala board. 

2. Cut from the cover of the egg carton, a piece of cardboard to form a border with the edge of the Mancala board (the edge of the board that was cut in half). Glue this piece to the egg carton and allow to dry. 

3. Paint the egg carton. Allow to dry. 

4. Instruct the students to collect "counters". We instructed our students to collect 'beautiful small rocks'. 

5. Place 1 counter in each pit on the Mancala board. For more advanced students, you can use more than one rock. Additionally, we did not include the house because we found it to be confusing. You can add the house by attaching a small container (such as a paper cup) to each end of the Mancala board. 


How to play: 


1. Place one counter in each pit. 

2. Have the student choose a pit to start with. The student will move in a clockwise direction the number of counters in the selected pit. 

3. Have the student choose another pit, and move the counter in a clockwise direction the number of counters in the selected pit. 

4. Continue selecting pits and moving counters. The object of the game is to move all the counters into one pit. 

Thursday, September 20, 2012

Gallon Bottle Bird Feeder

This simple craft is great for the spring when birds are returning and trees are beginning to bloom. We put our bird feeder up in April and watched birds use them throughout Spring, Summer, Fall and Winter. 


Materials:

  • one empty gallon jug - preferably water 
  • one pencil
  • one scissor 
  • crayons
  • ribbon or string 
  • bird food

Directions: 
1. Hold the empty jug by the handle. Draw openings for birds to fly in and out of on the 2 sides opposite to the handle. 

2. Using scissors, cut the two openings out. 

3. Using crayons, have your child draw on the bottle. 

4. Make two holes on the top of the jug on opposite sides of the cap. 

5. Securely tie ribbon or string. 

6. Hang the bird feeder outside and fill the bottom with bird food. 

Thursday, September 13, 2012

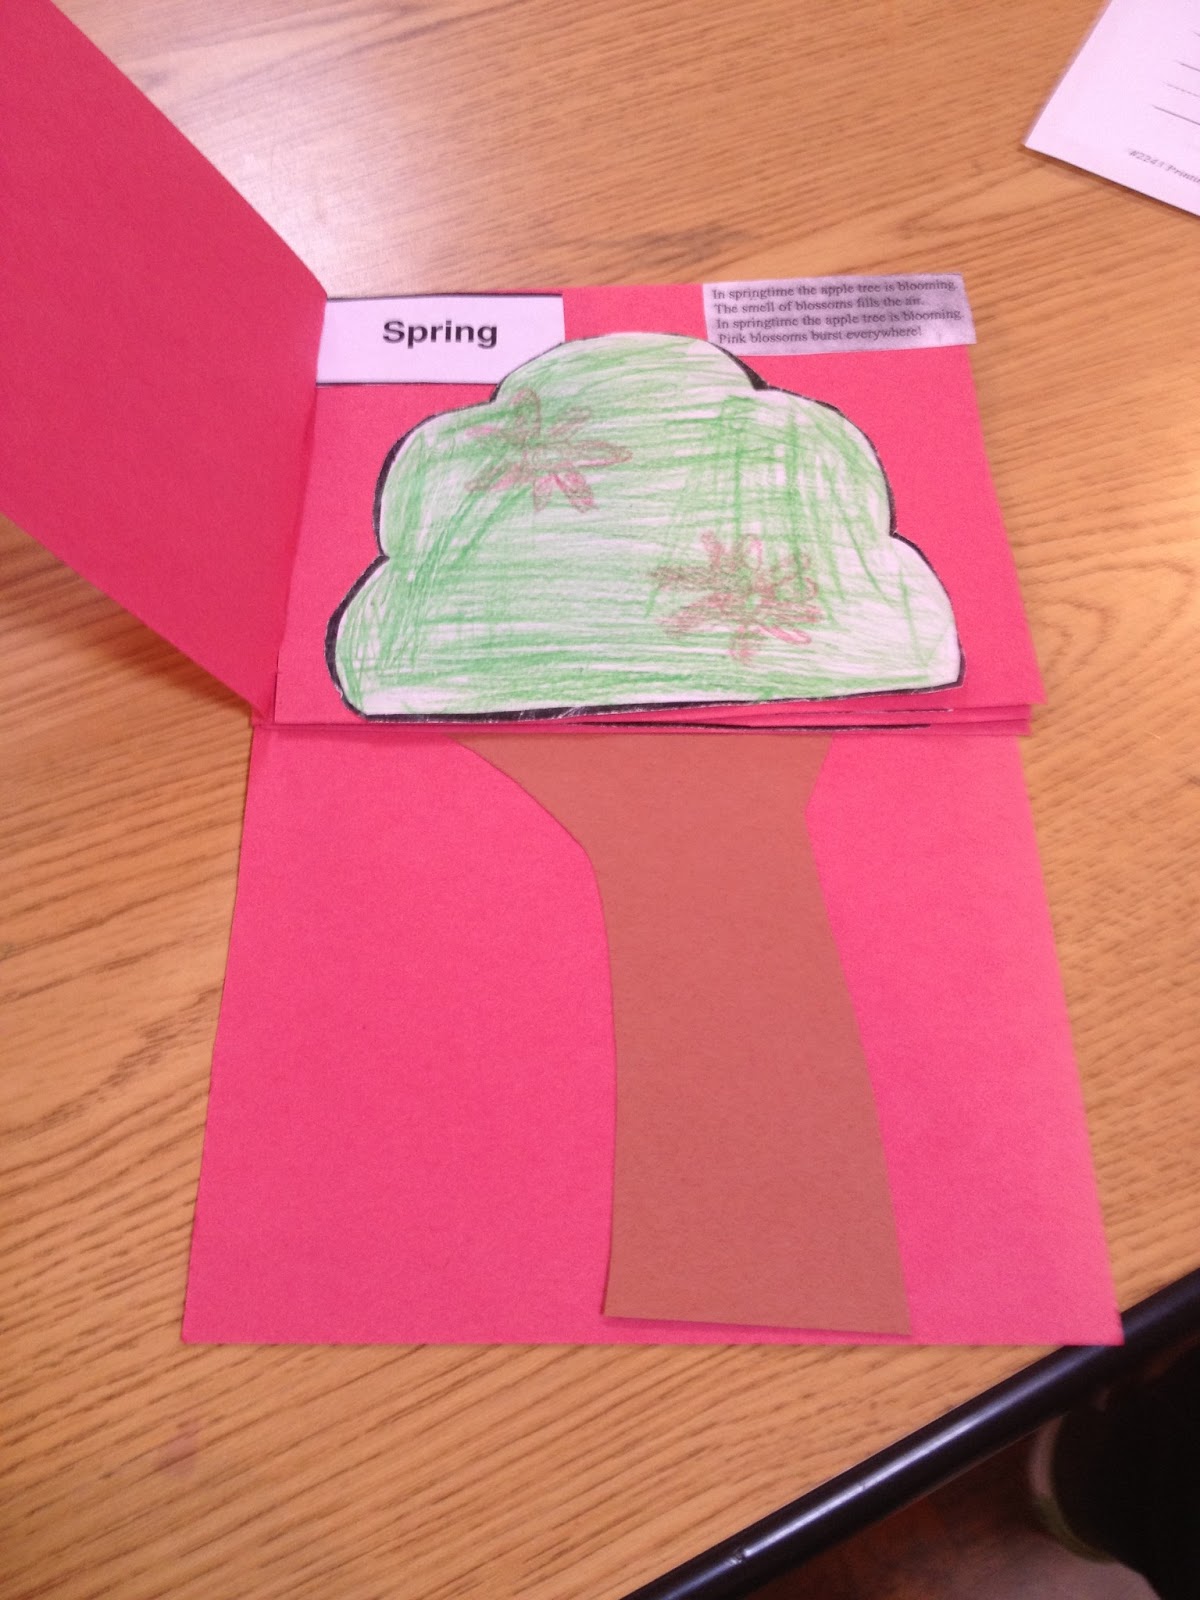
Apple Tree Through the Seasons Book

This book is great for the fall curriculum - it teaches your child about the seasons and also about apples. Furthermore, this book makes it easy for your child to explain the seasons and apples to you.

Materials:

  • Construction paper - brown and your child's favorite color
  • White paper (regular printer paper) 
  • Pencil
  • Glue
  • Scissors 
  • Crayons or color pencils 

Directions 
1. Fold a piece of water printer paper into quarters. In 3 of the folded quarters draw the outline of an apple tree top (outline of leaves of an apple tree)

2. Instruct your child on the seasons and how an apple tree changes through the seasons. Have your child draw and color the apple tree top through the seasons 
-Spring: light green leaves with pink blossoms that will turn into apples 
-Summer: green leaves and apples
-Fall: yellow, orange and red leaves with apples 

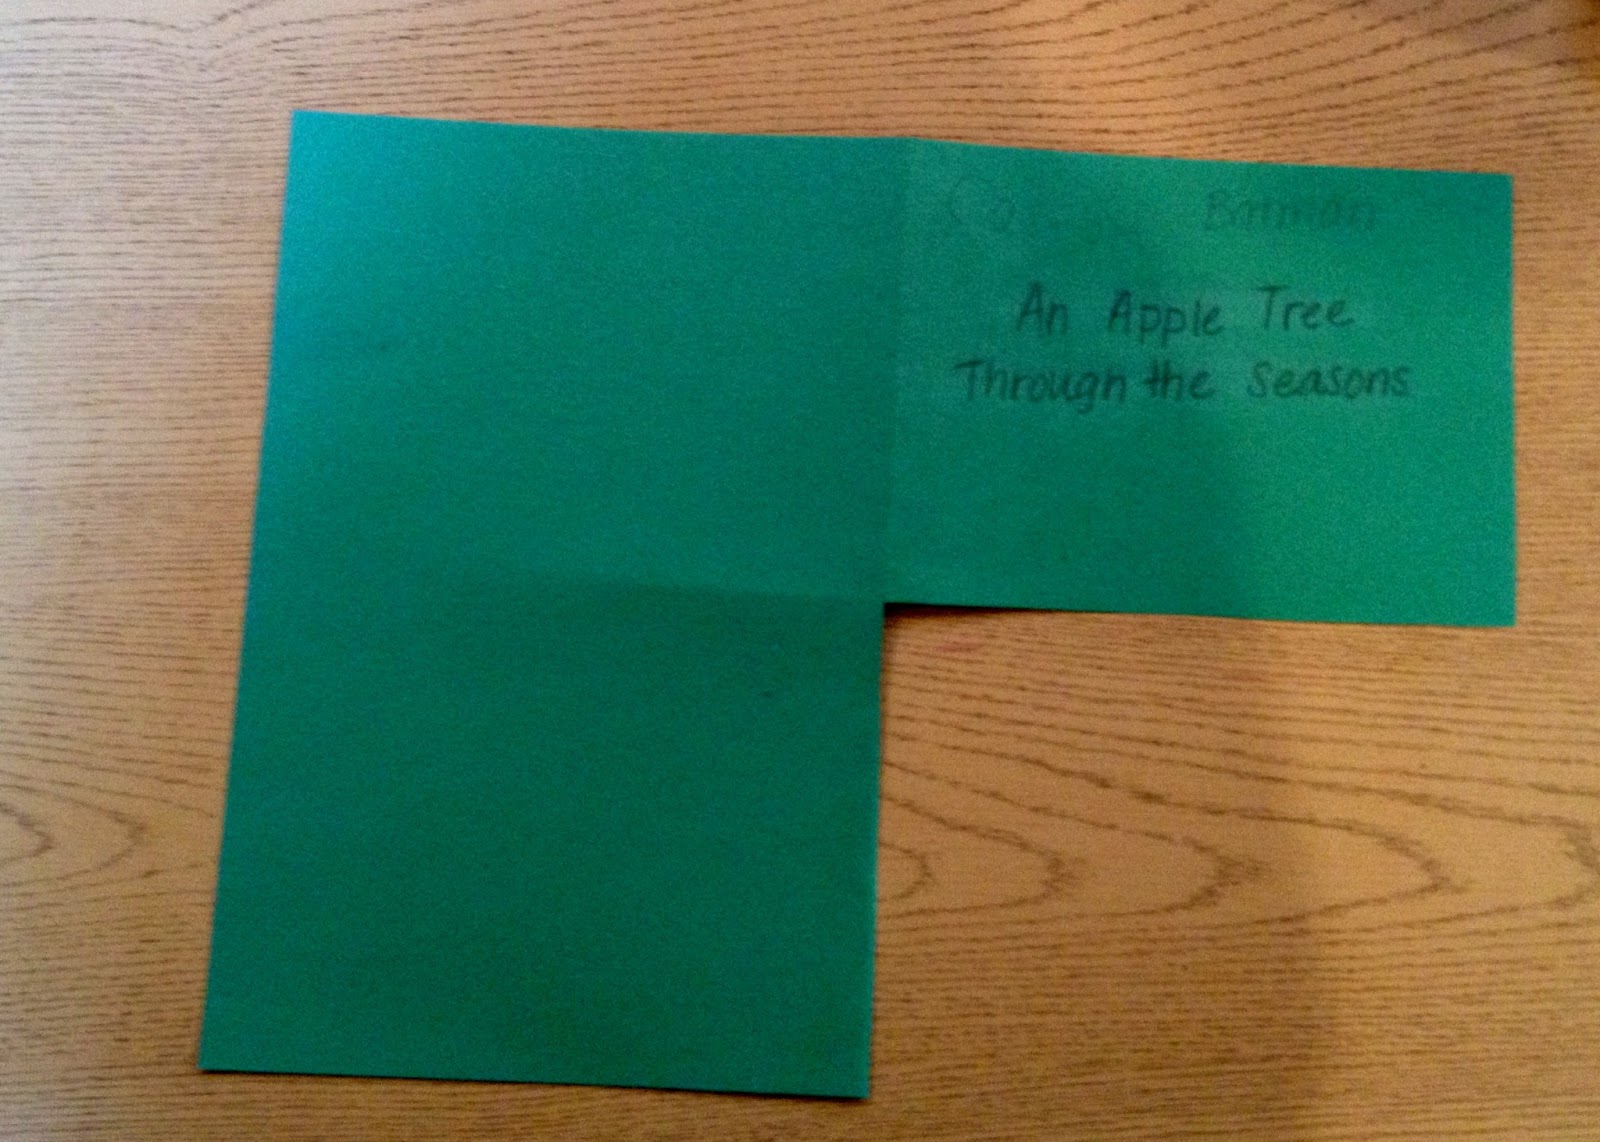
3. Fold the construction paper into quarters. Cut out the bottom left quarter.
4.  In another construction paper (the same color) fold into quarters and cut the out all four quarters. 


5. Staple three of the cut out corners  to the top half of the book. This will be where you will glue the apple tree tops to the book. On the top cover, help your child write the title. We used the title "An Apple Tree Through the Seasons". 


6. 
Trace your child's hand, including part of the arm so that it fills the entire length of the construction paper in portrait orientation. With scissors cut the outline of your child's arm out of the paper.

7. Glue the outline of your child's arm to the back page of the book. This will be the page that is comprised of 2 quarters (from step 3).


8. Have your child glue in the tree tops. After the title page, the seasons should progress as follows: Spring, Summer, Fall and Winter.